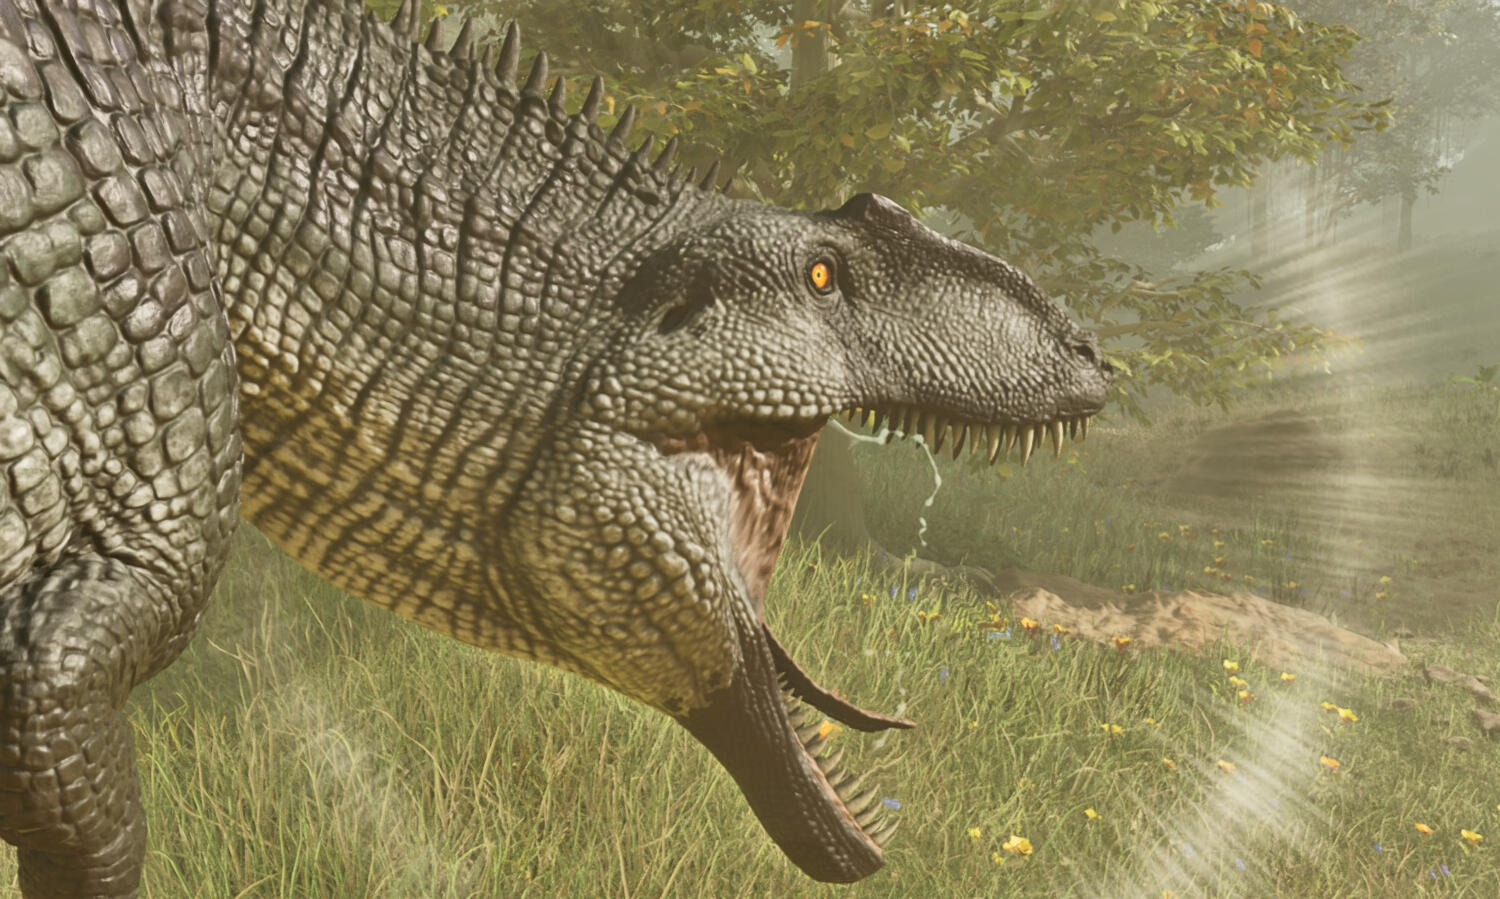
Sneaky... You're not supposed to be here.

Spawn Locations
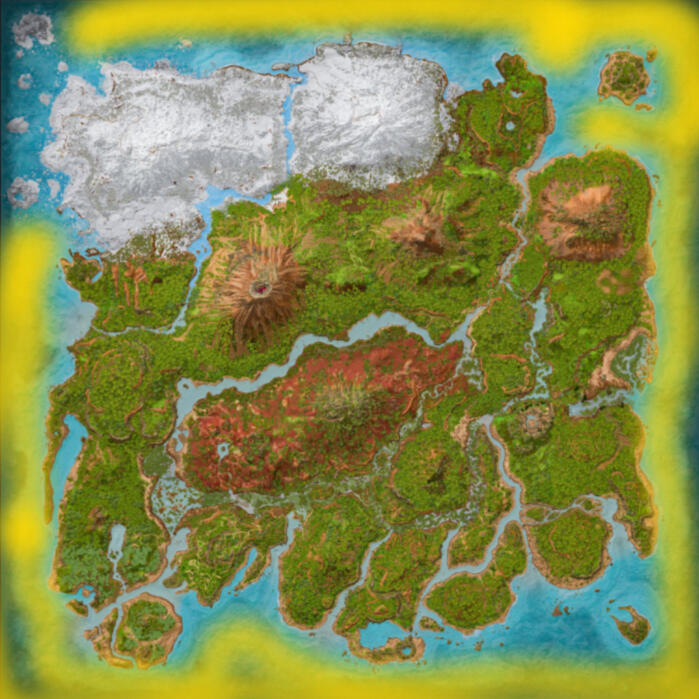
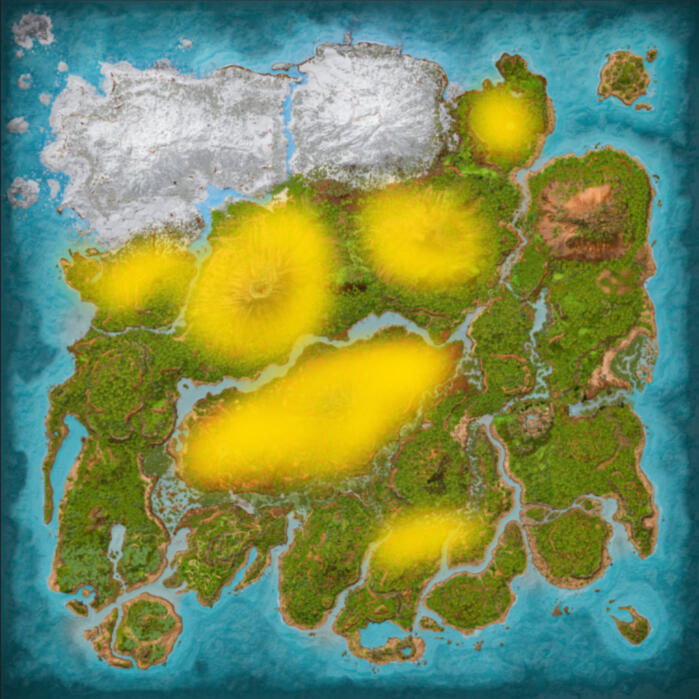
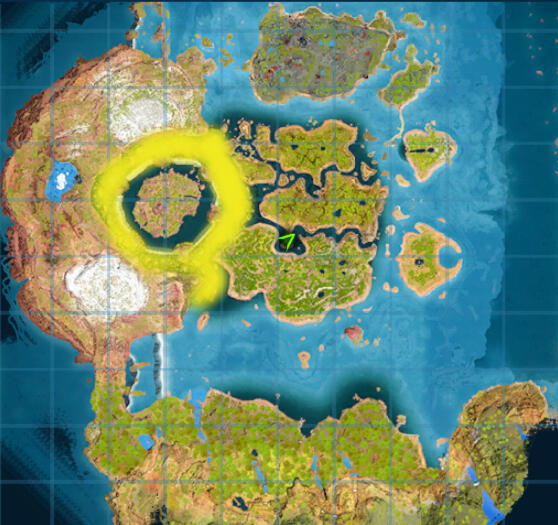
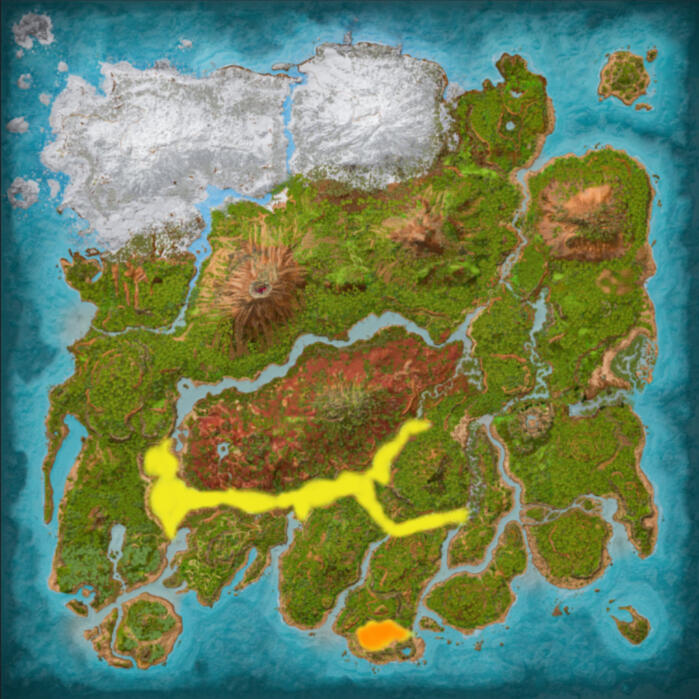
The Island
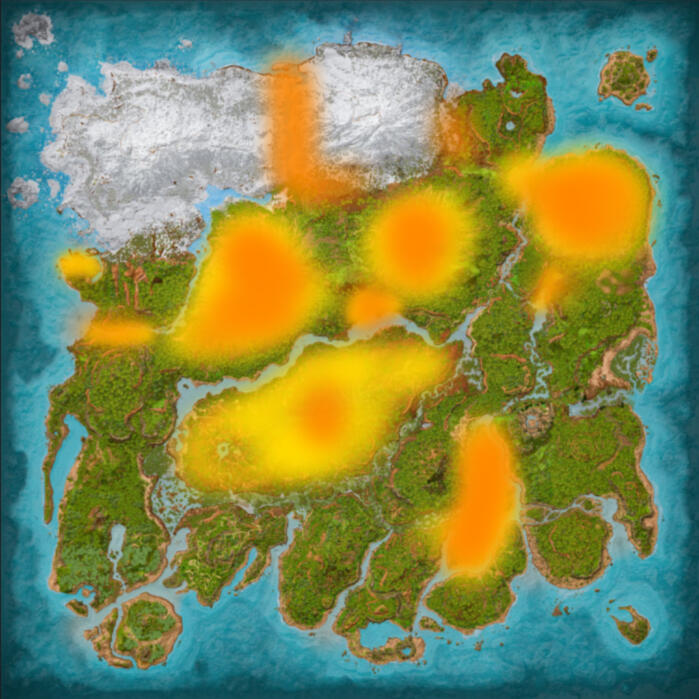
- Spawns are Rough Estimates and may differ in game
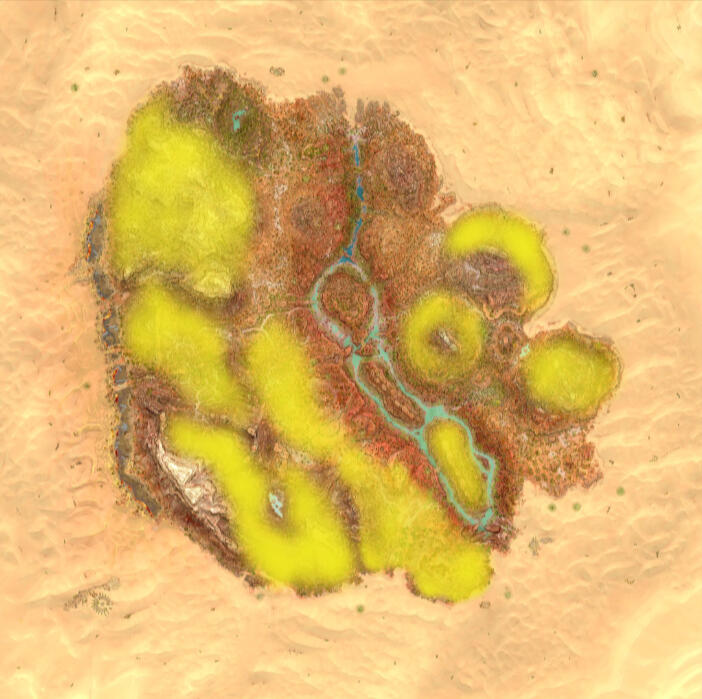
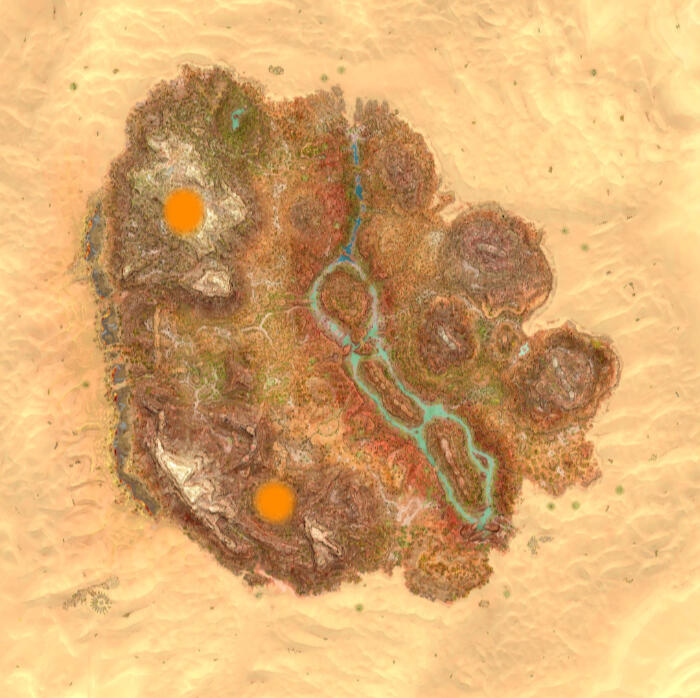
Scorched Earth
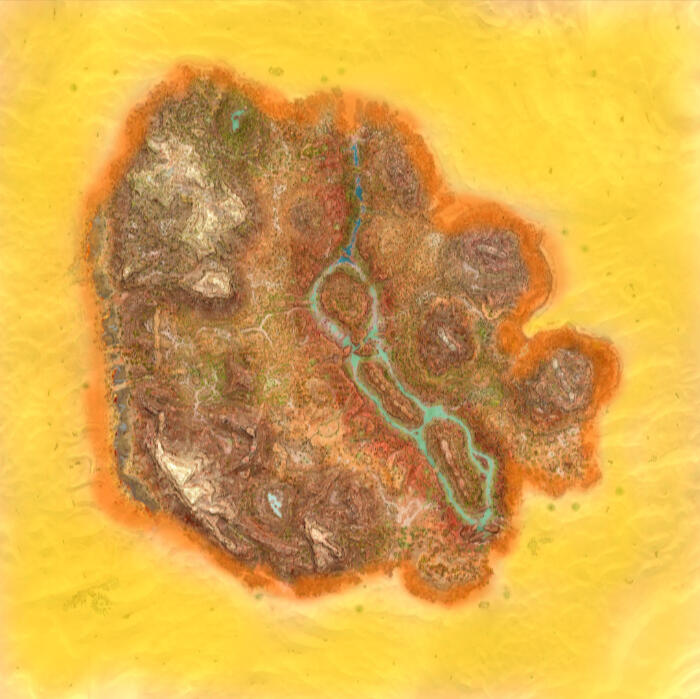
- Spawns are Rough Estimates and may differ in game
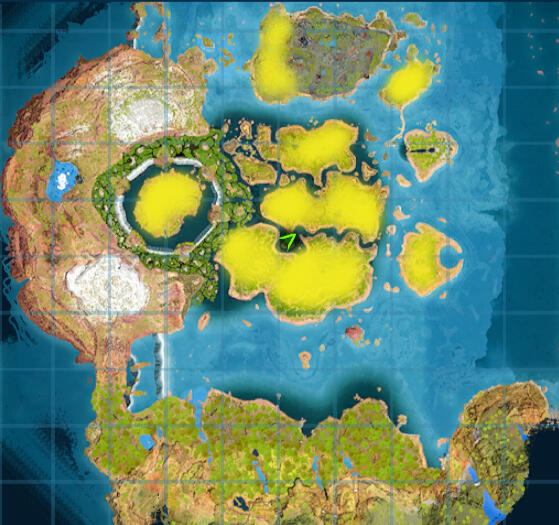
The Center
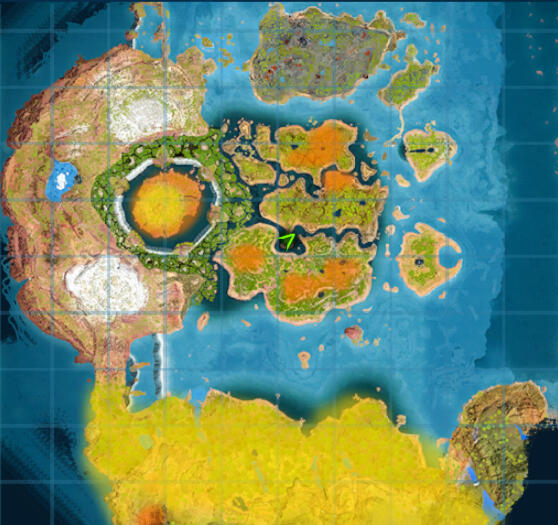
- Spawns are Rough Estimates and may differ in game
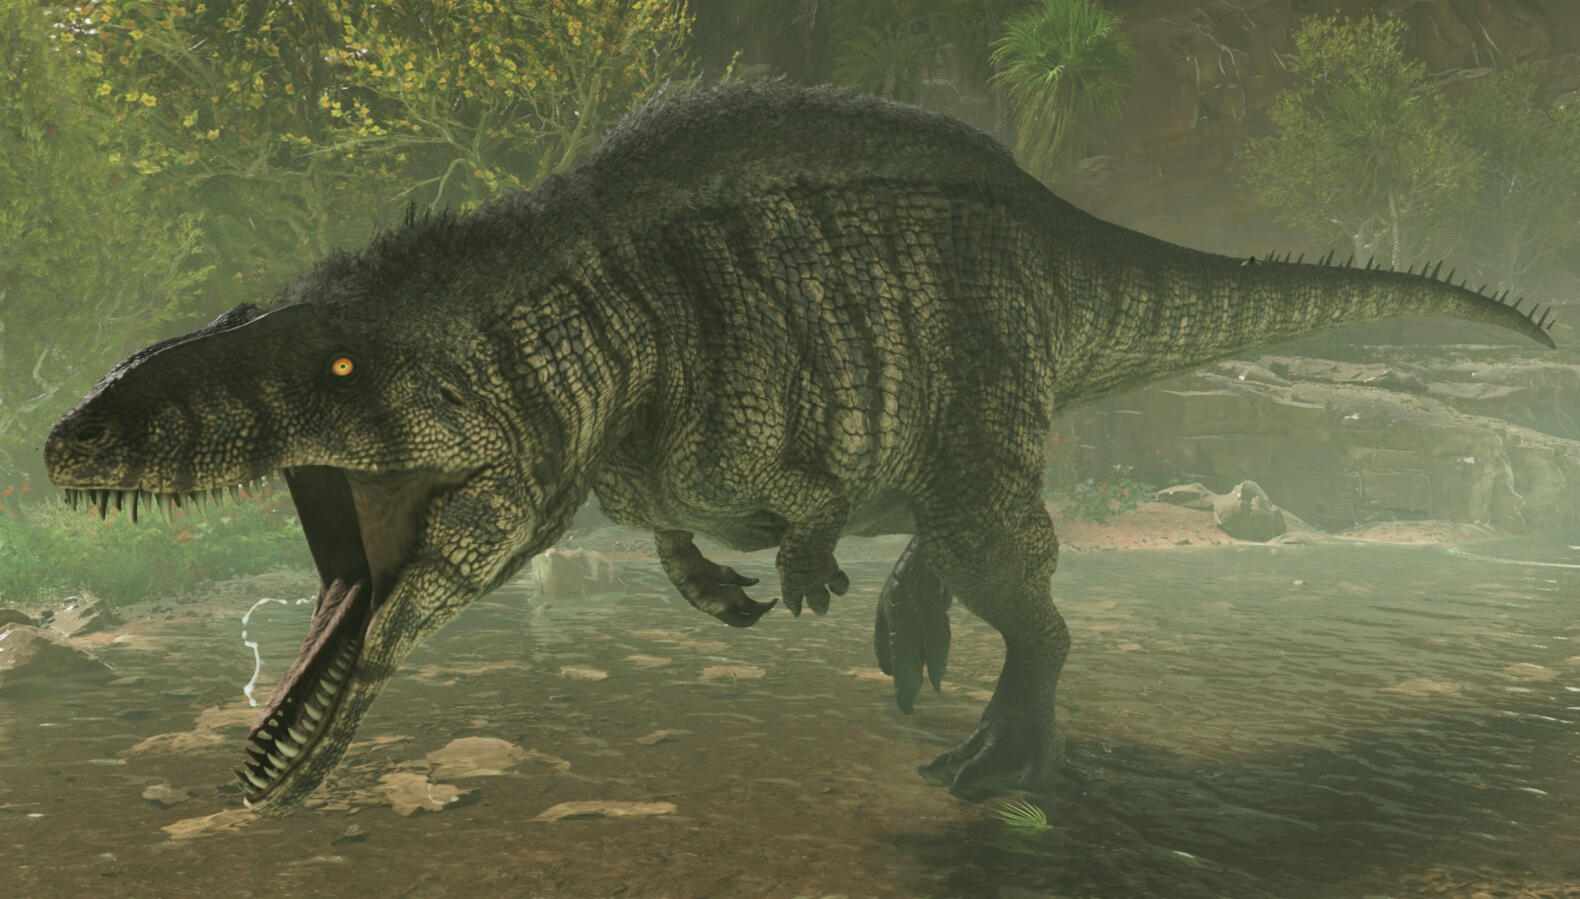
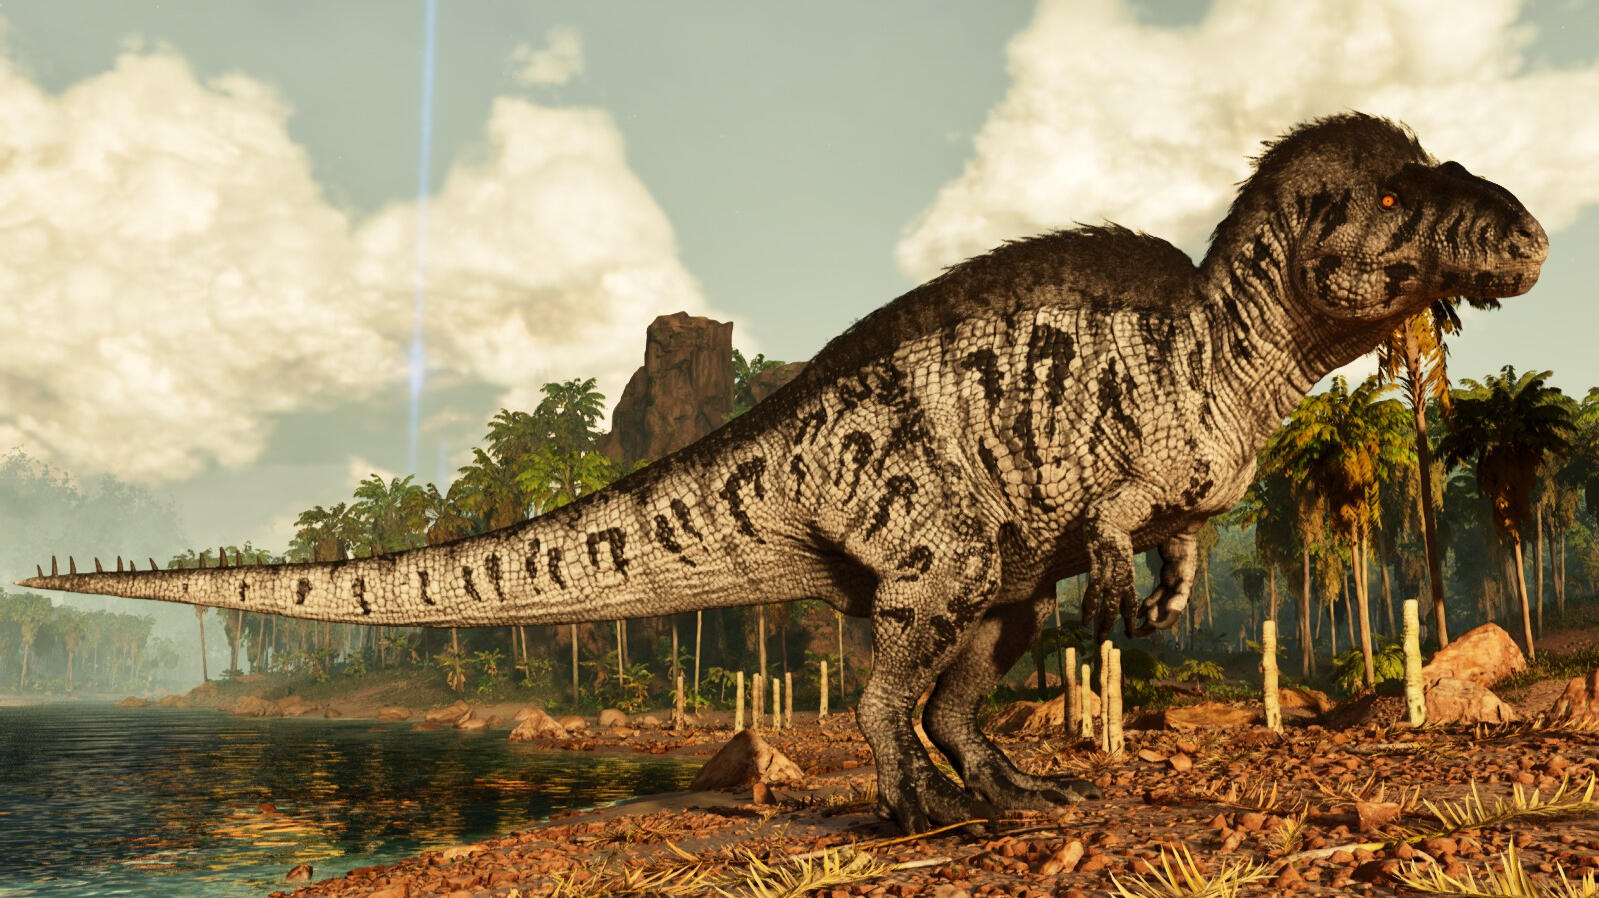
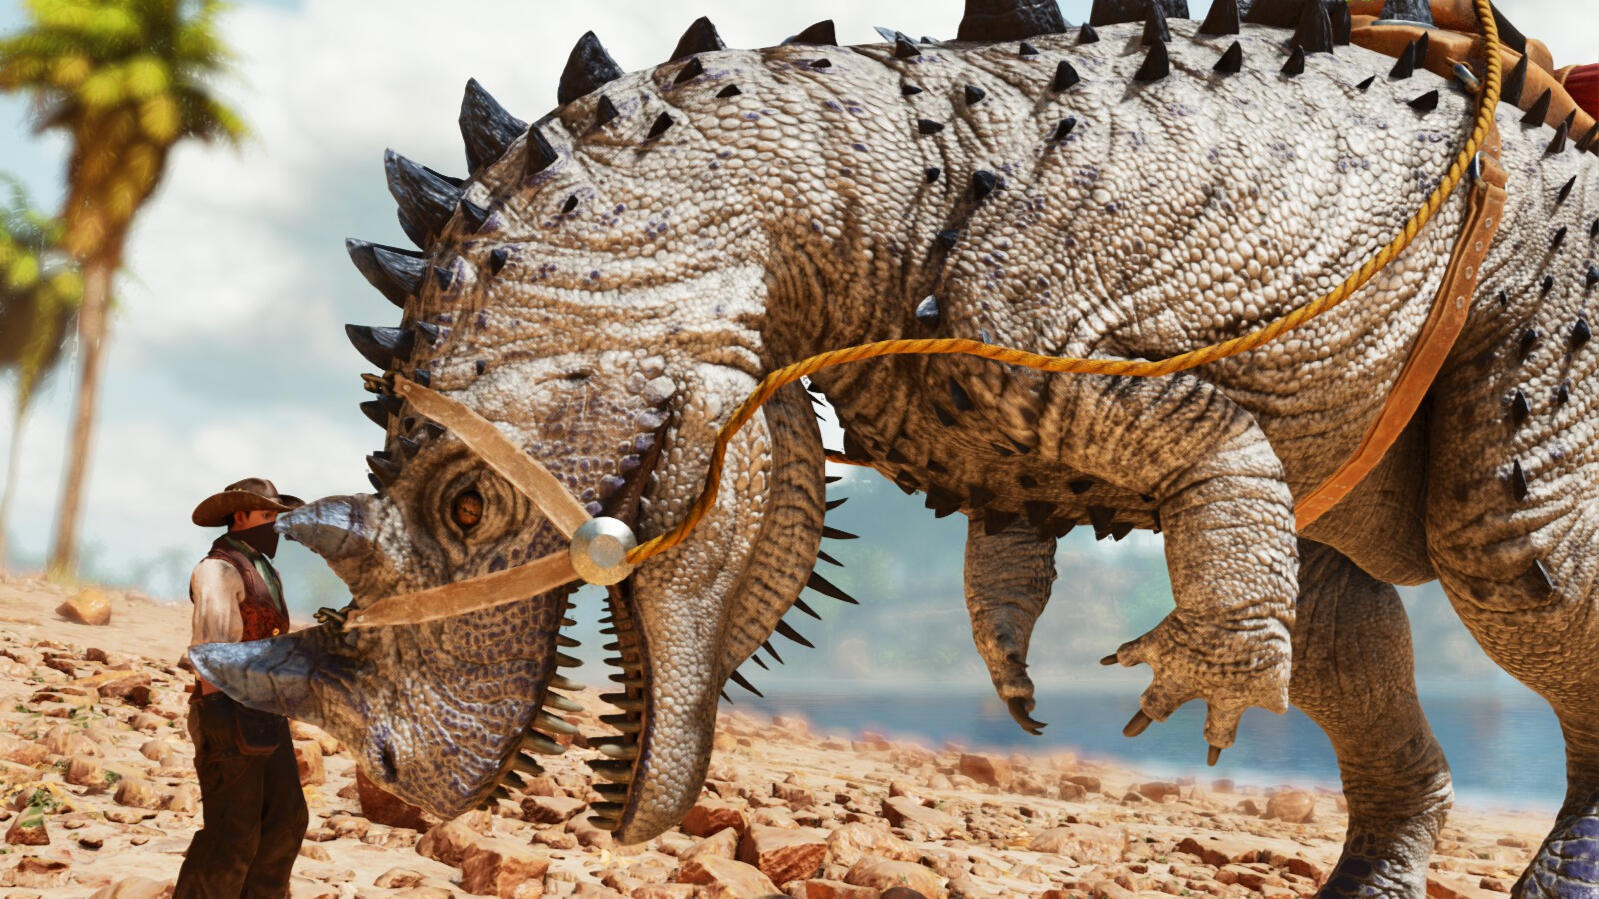
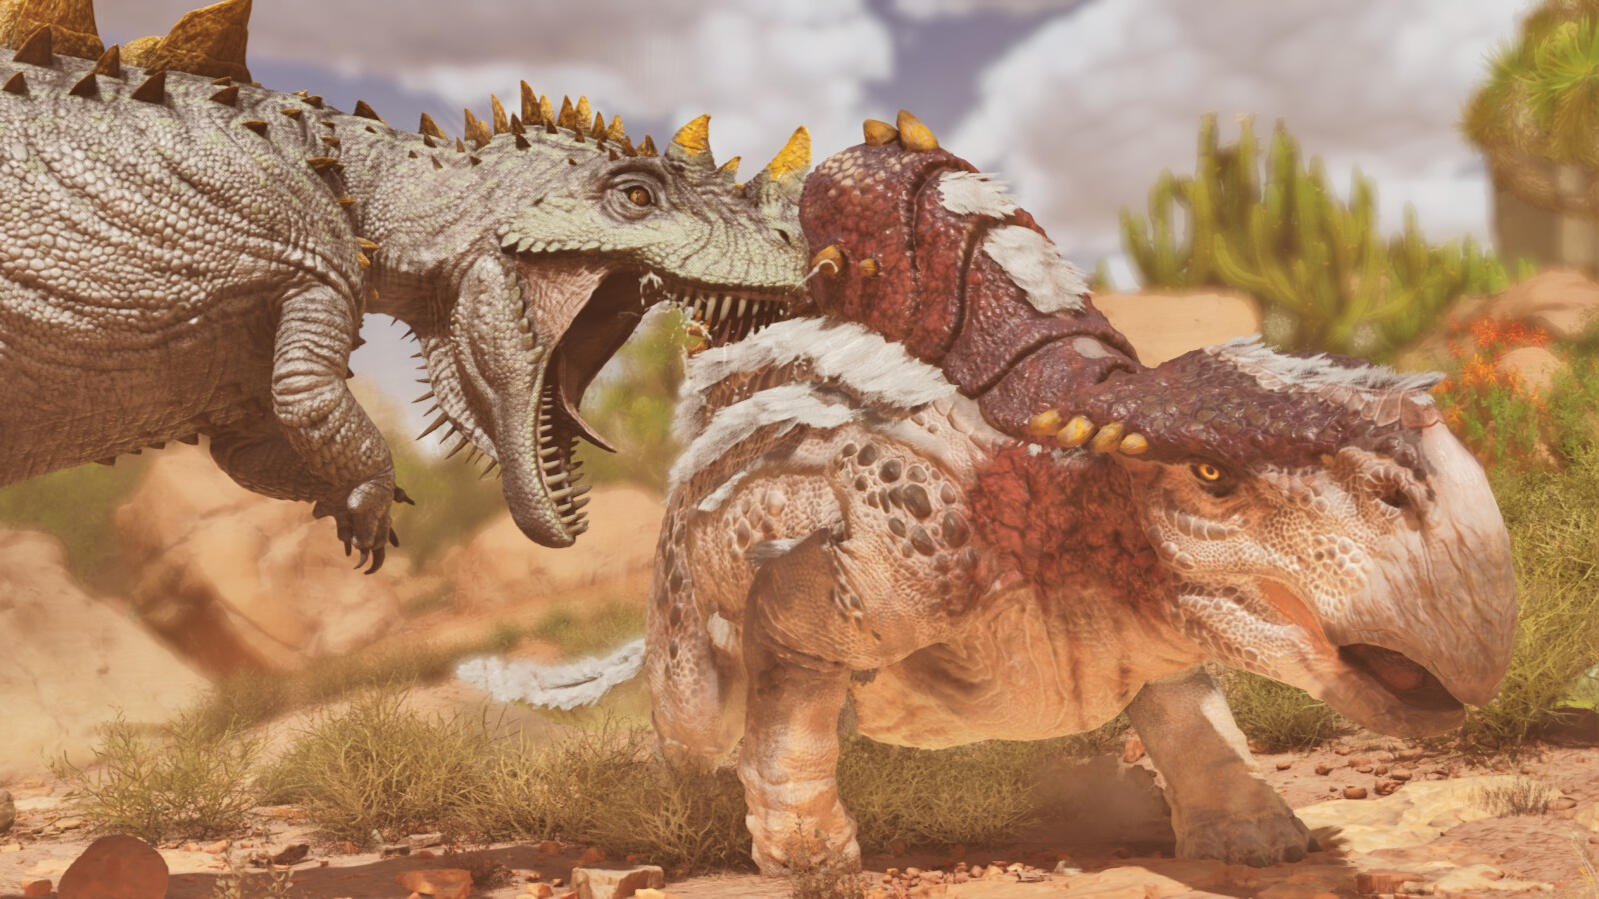
Taming Process
1. Damage the Acro until it goes into shield stance
- The Acro will start sidestepping towards you once it shifts into Shield Stance
- Failing to apply damage within an amount of time will revert the Acro out of shield stance
2. Continue to apply damage until it roars
- Acros can use a decoy roar as a fake out
- Click the button below for more information
3. Passive feed it during the roar
- Make sure its not a decoy roar
- Bio Toxin is most effective but Narcotic will work
- A successful feed will fully heal the Acro
- If you miss the feed, the Acro will enter Adrenaline
- Click the button below for more information on Adrenaline mode
3. Repeat steps 2 and 3 until it knocks out
- Once it's out, feed it like any other knock out tame
Preferred Foods
Exceptional Kibble
Raw Mutton
Raw Prime Meat
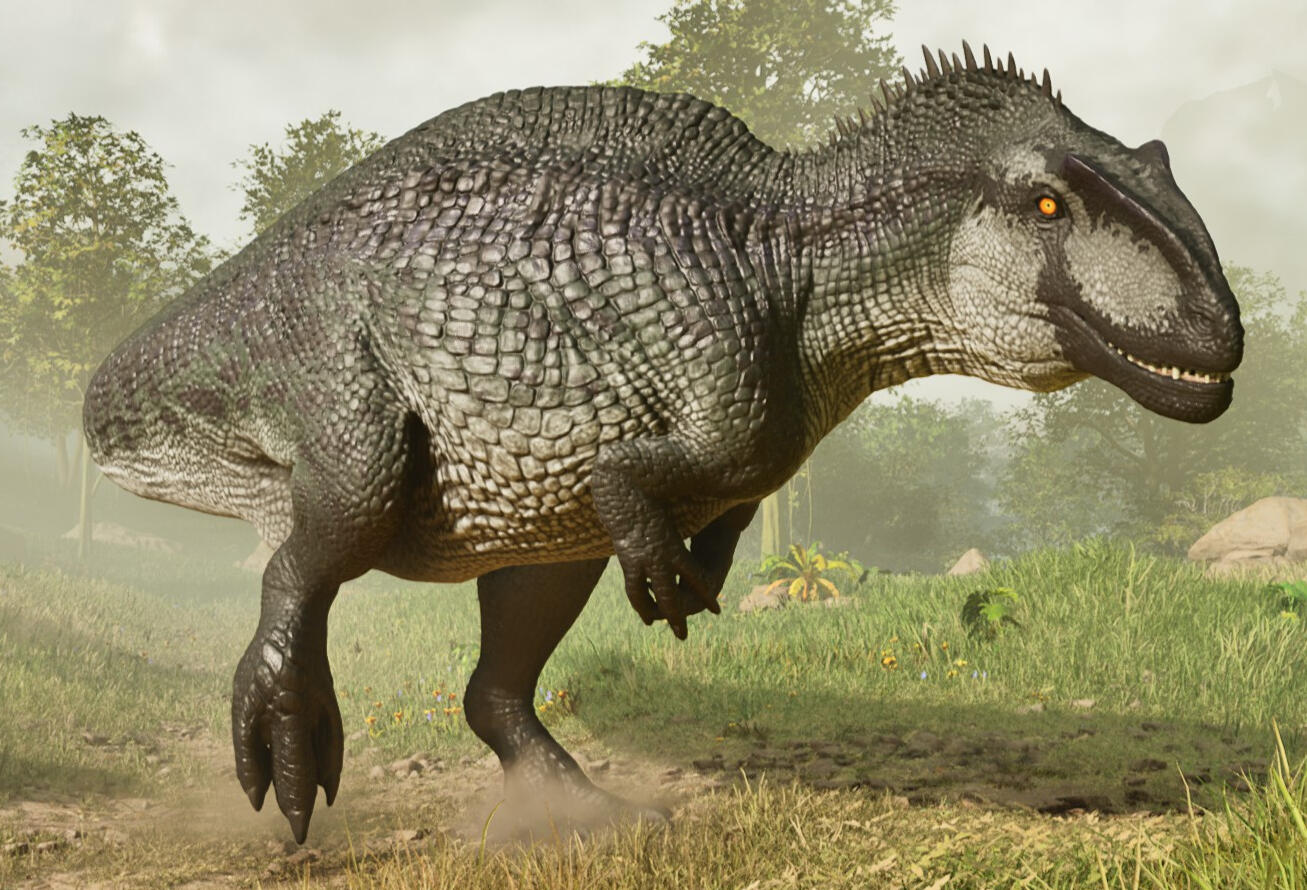
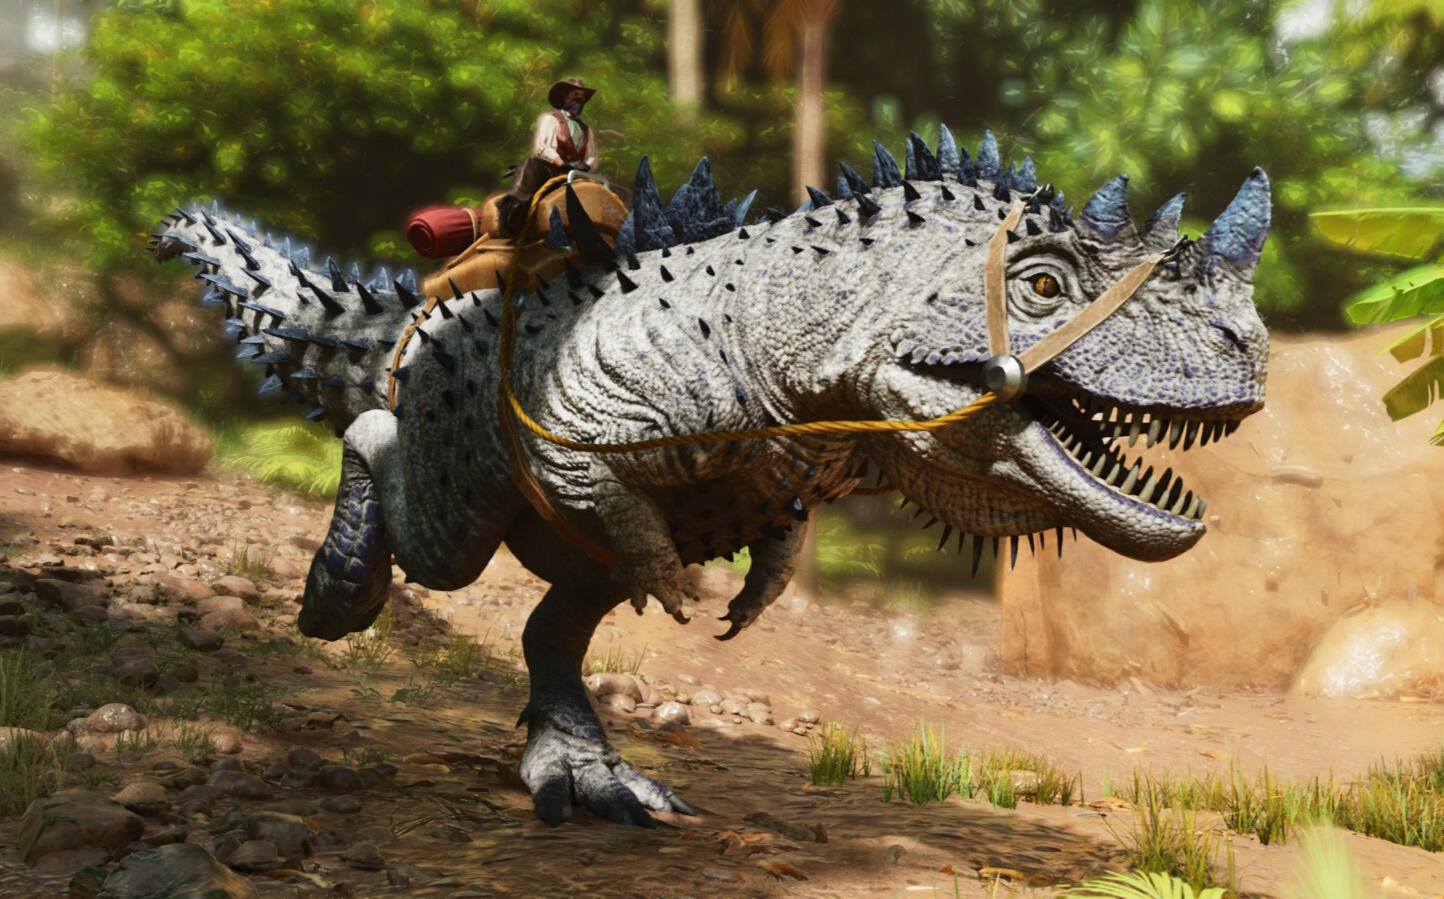
4. Congrats, you've tamed an Acrocanthosaurus!
Engrams & Requirements
- Saddle unlocks at Level 76
- Saddle Engram Cost: 43 pts
- Crafted in: Smithy
Saddle Resource Costs
- 200 Fiber
- 50 Metal Ingots
- 380 Hide
NOTES:
- You can try to trap the Acro with gates but they can damage stone
- Shield stance bash attack damages metal
Roars - Real or Fake
- Decoy roar will fully heal the Acro
- Continue to shoot at the Acro through the decoy roar to get it to re-enter shield stance
- Letting the Acro go through the decoy roar will bring it out of shield stance
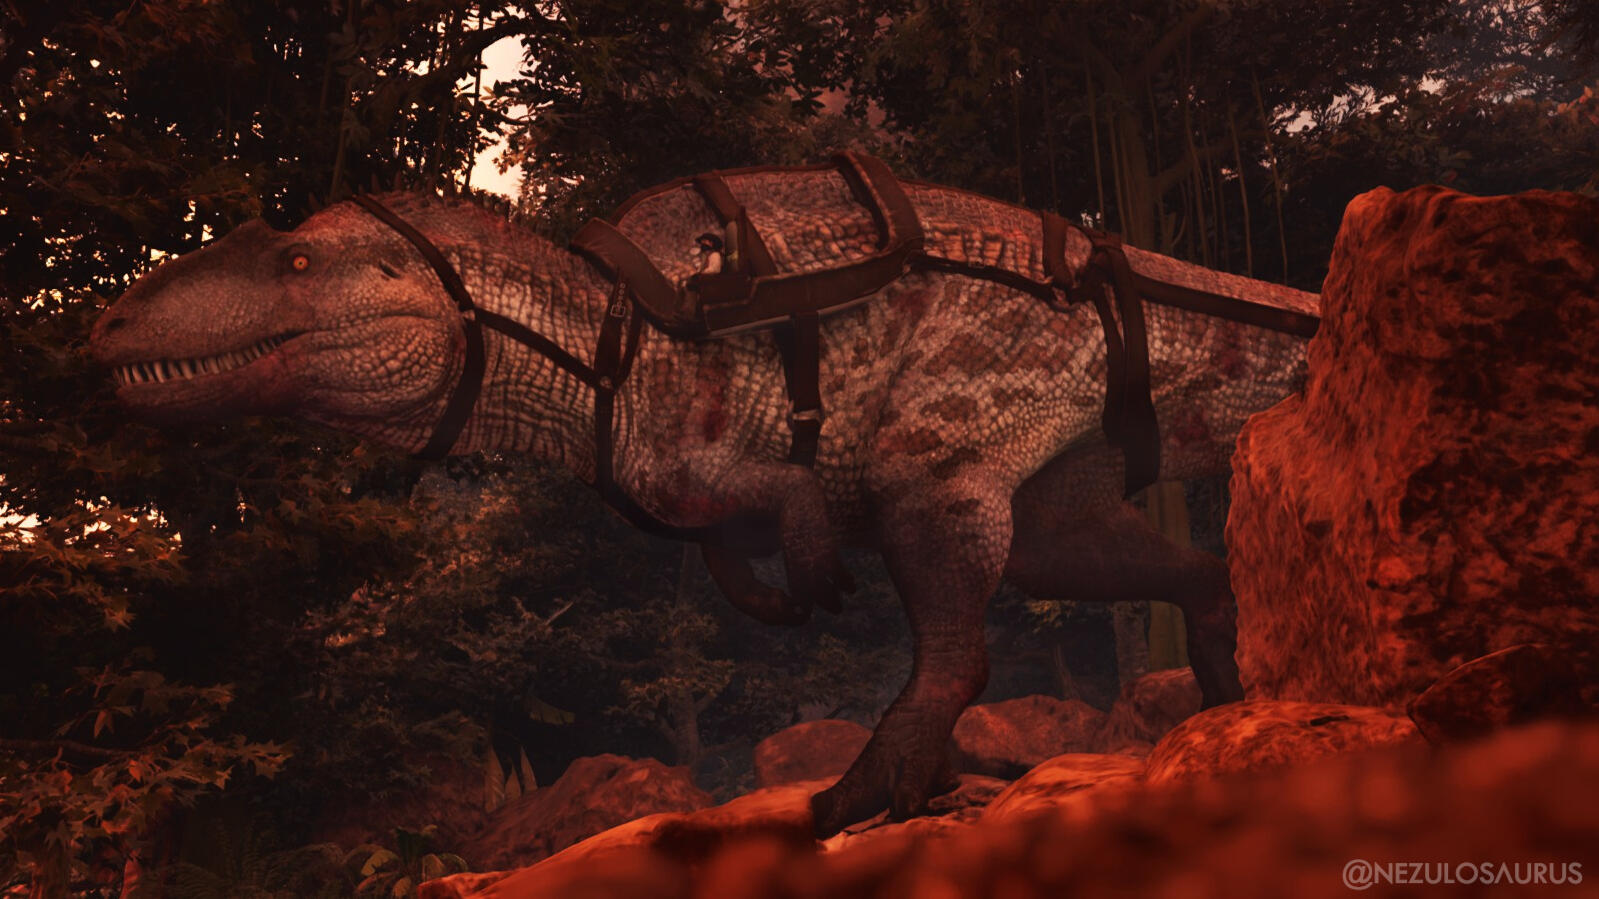
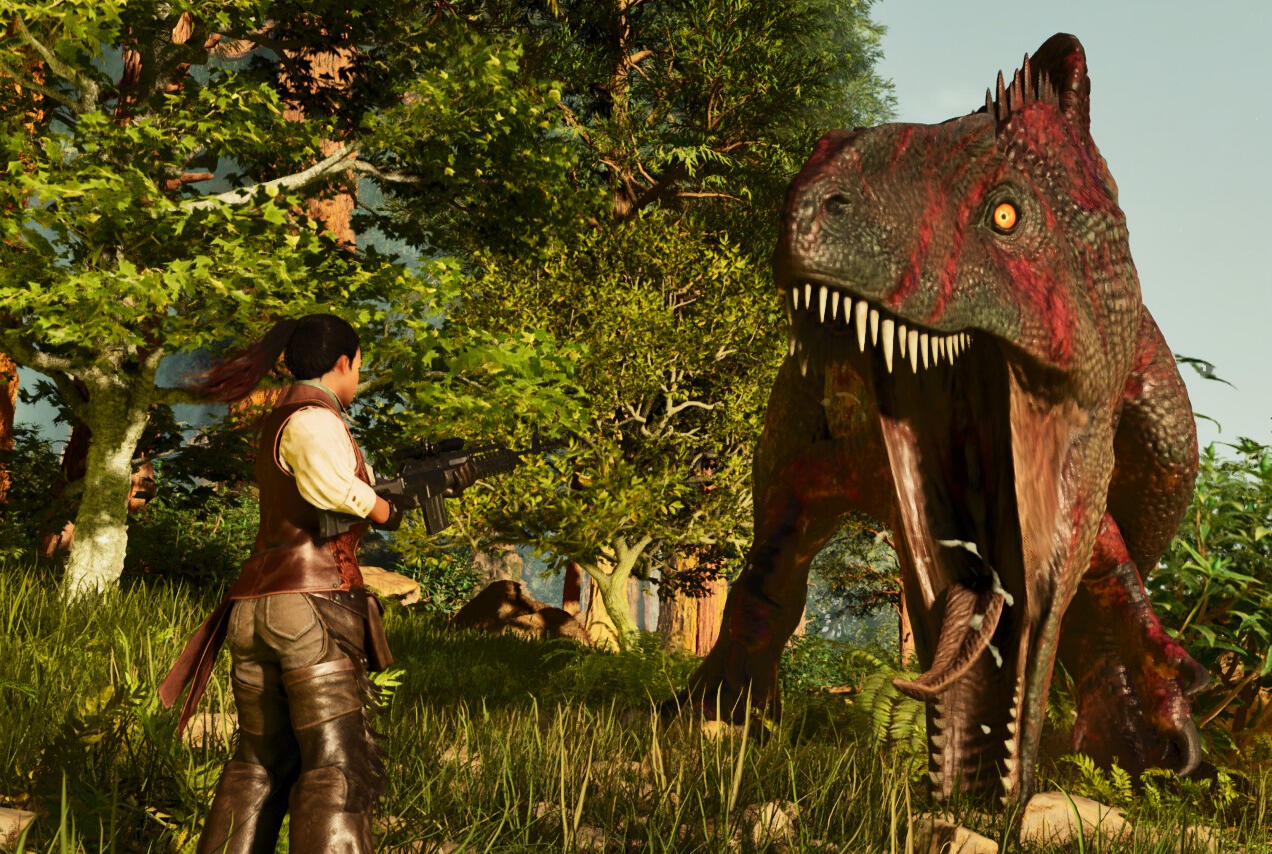
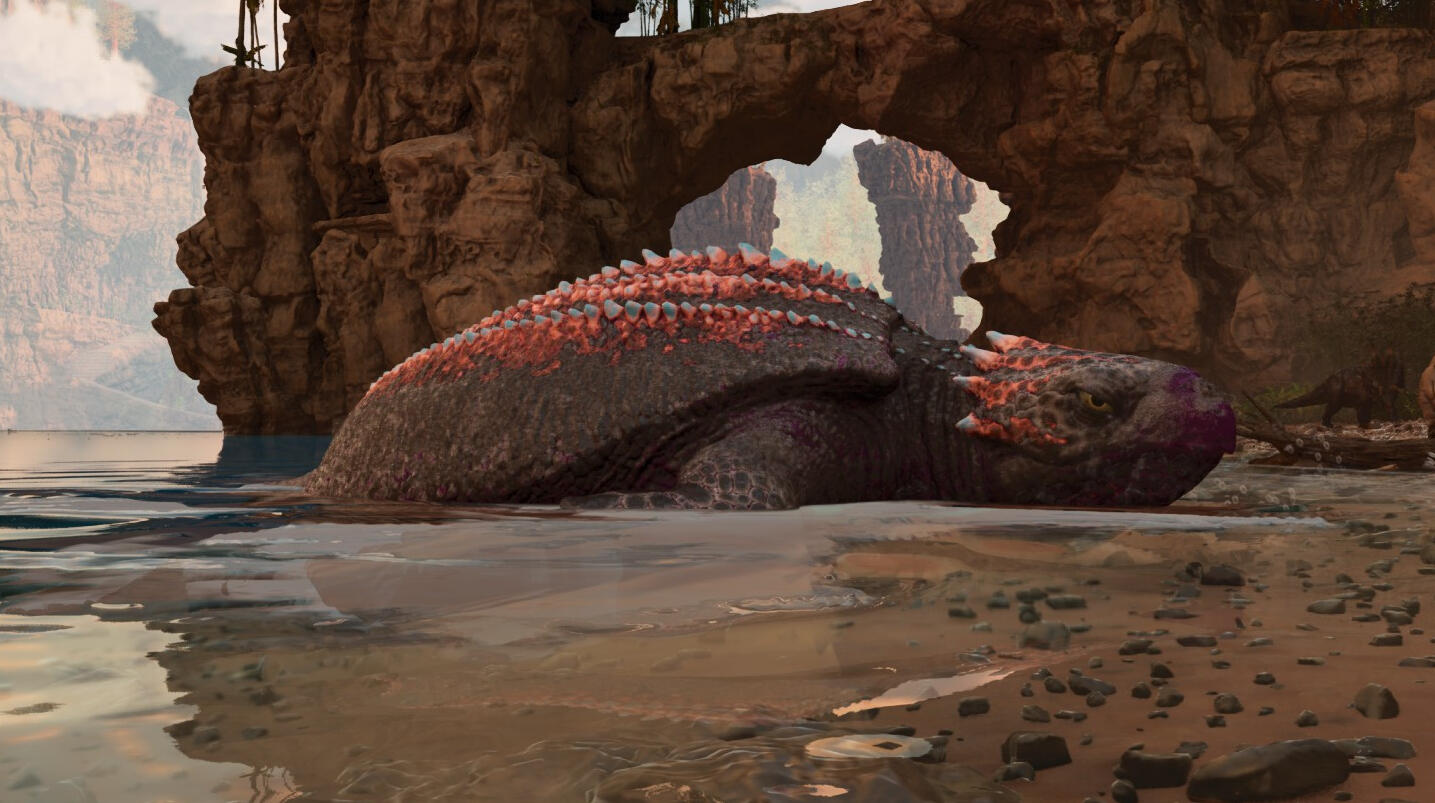
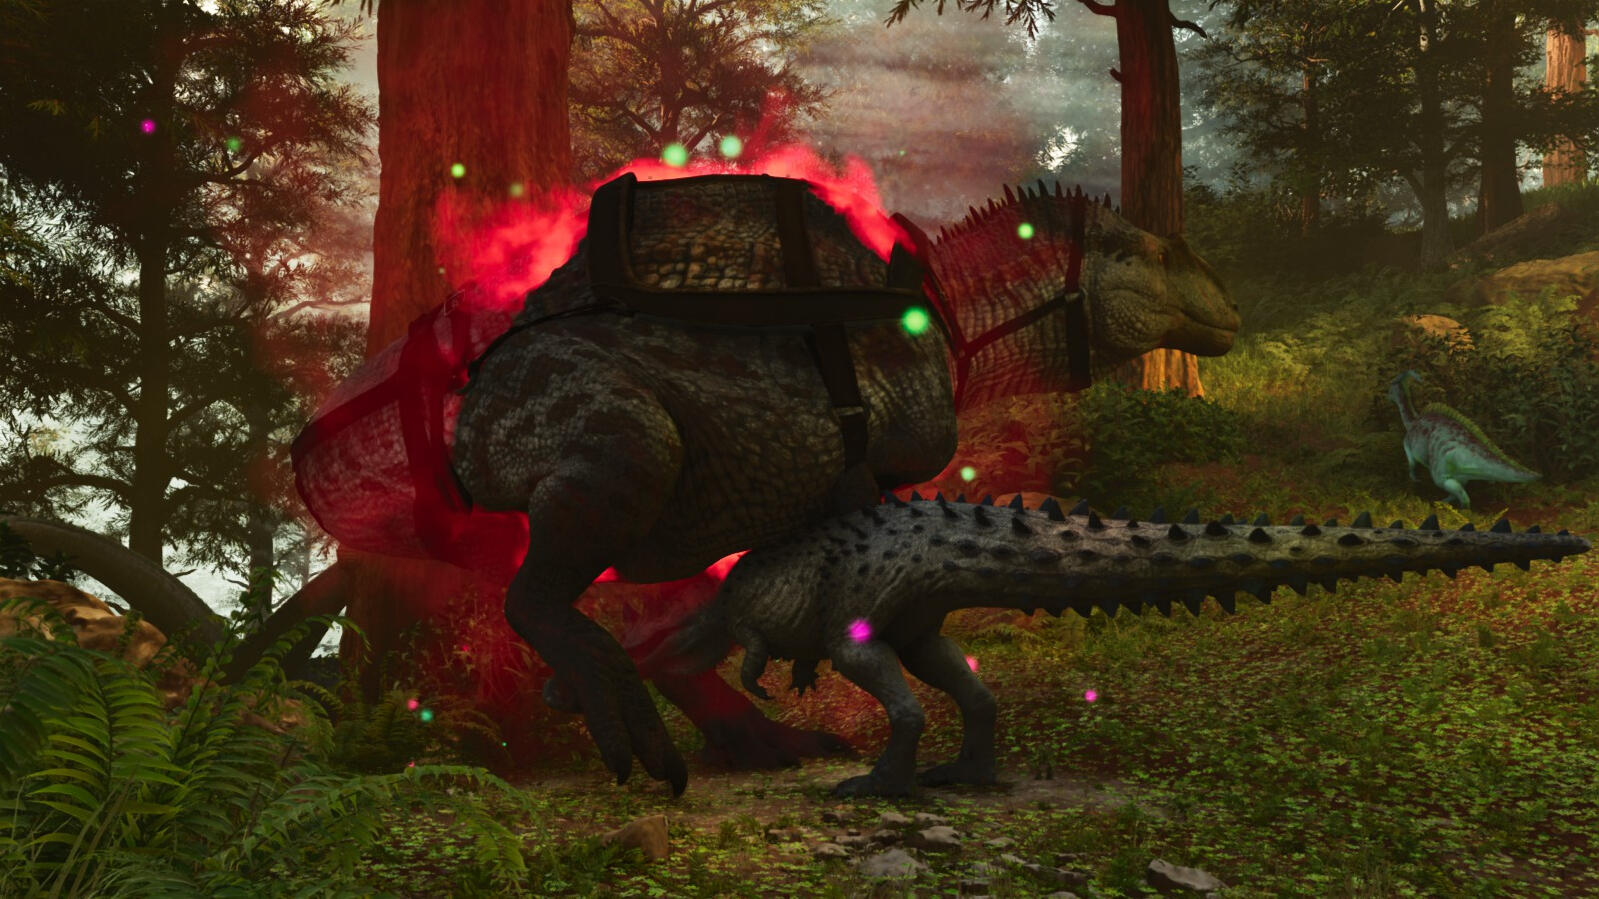
Adrenaline Mode

- Preceeded by a roaring bellow
- Acros gain a red glow on their bodies (more visible at night)
- Shatters rocks and knocks down trees
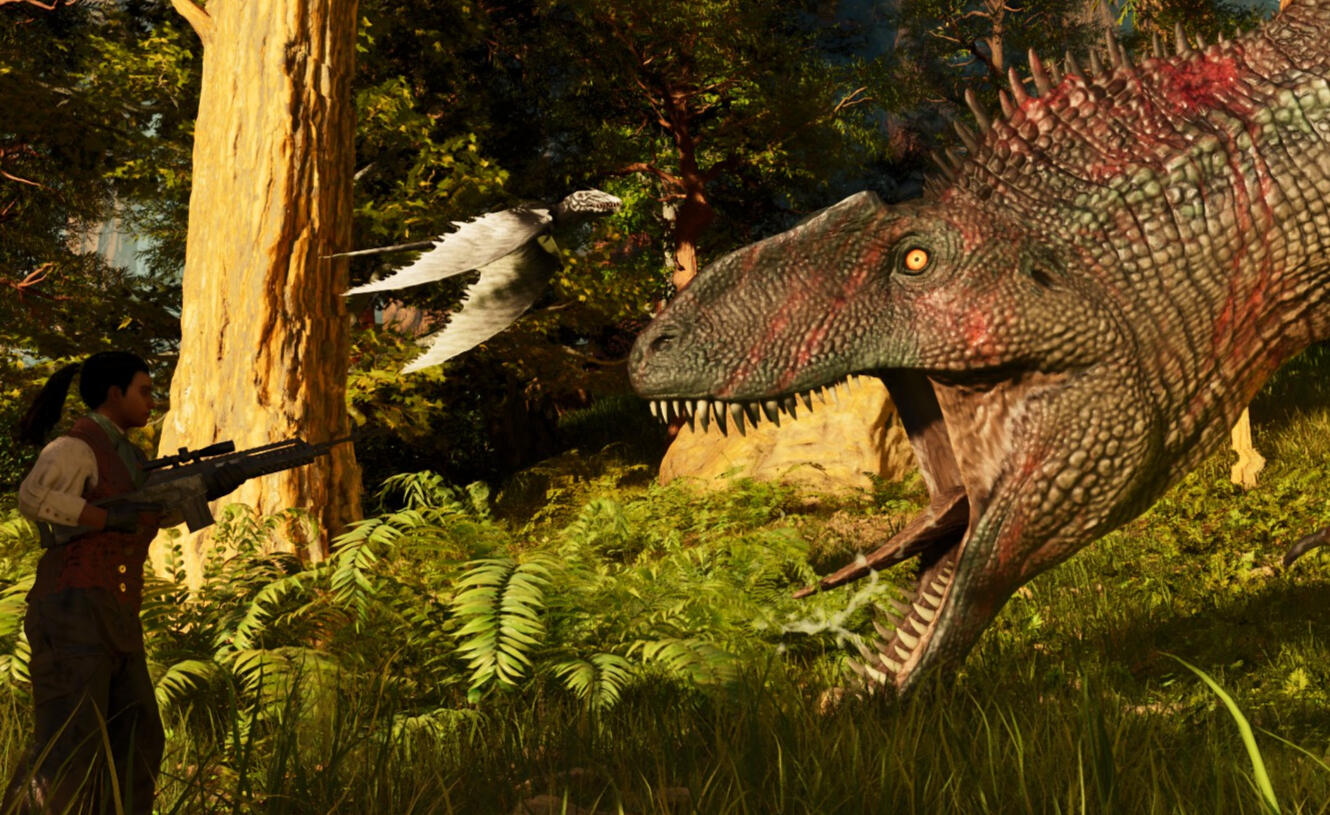
Wild
- Wild Acrocanthosaurus will enter adrenaline mode after taking damage and roaring
- Adrenaline boosts their melee to nearly double
- Acros get a speed boost in Adrenaline
- Adrenaline allows the Acro to unleash a devasting triple stomp attack
- They become able to shatter rocks and break trees, making fleeing on foot impossible without a mount or extremely good armor
- When killing wild Acros, stopping damage when they enter Shield stance will prevent them from entering adrenaline
Abilities & Utility
1. Adrenaline
- Adrenaline mode can only be activated when the UI bar is full and blinking
- Adrenaline is activated with spacebar
2. Adrenaline Speed
- Your acro will gain speed, melee buff, and the triple stomp ability
- Adrenaline speed is NOT affected by imprint speed buff
3. Adrenaline Healing
- In Adrenaline mode, your Acro will regenerate 0.2% health per second
4. Triple Stomp
- Replaces the normal right click stomp
5. Allied Adrenaline
- Tapping spacebar when prompted during the activation roar will allow your Acro to give its adrenaline to your allies
- The roar does a large amount of damage and knock back
- This will deplete your entire Adrenaline meter
6. Shield Mode
- Hitting C on pc will shift your Acro into a new stance- Shield Stance
- The Acro will sidestep in the direction you're walking
- Rider is protected by the Acro's body
- Tanks damage in this mode
- The right click attack becomes a bash that can damage metal tier structures
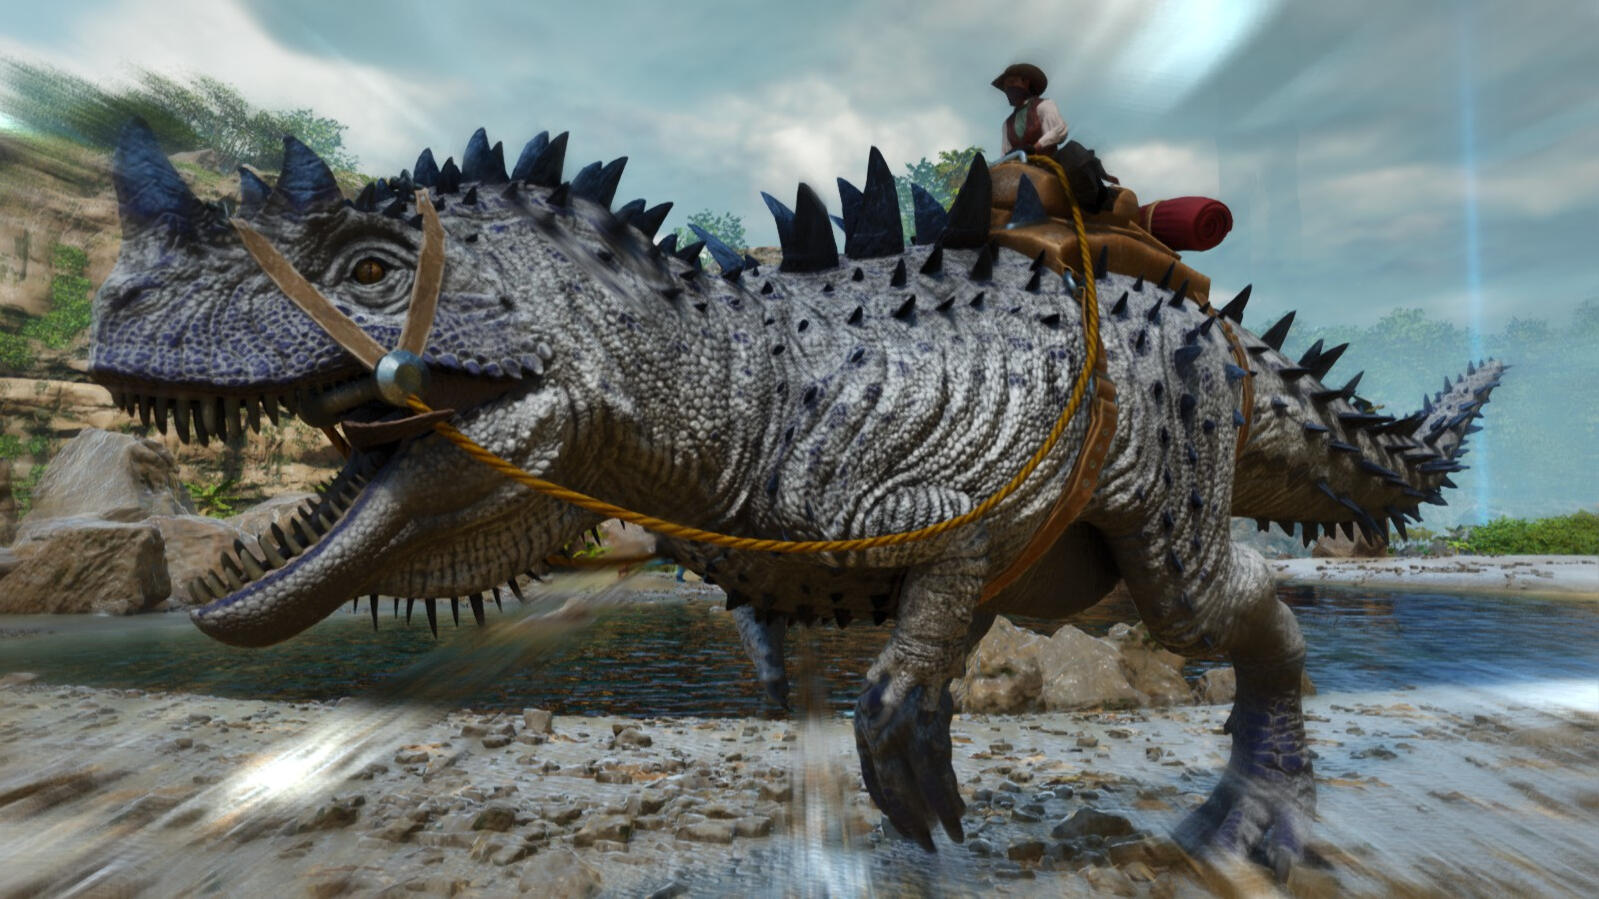
7. Battle Mount
- Tank: Shield Stance reduces incoming damage while building Adrenaline; also a good way to soak turrets and ranged attacks
- Alpha Hunter: Shield stance allows tanking of hits and adrenaline to deal damage as well as heal
- Boss Killer: Bred and mutated Acros can be used to fight bosses
- Torpor Immunity: Acros are immune to torpor attacks including the Broodmother and Manticore
- Golem Brawler: Shield bash attack can damage stone-tier and has no damage reduction against Rock Elementals. The Allied Adrenaline roar also does high damage to Elementals
Variants
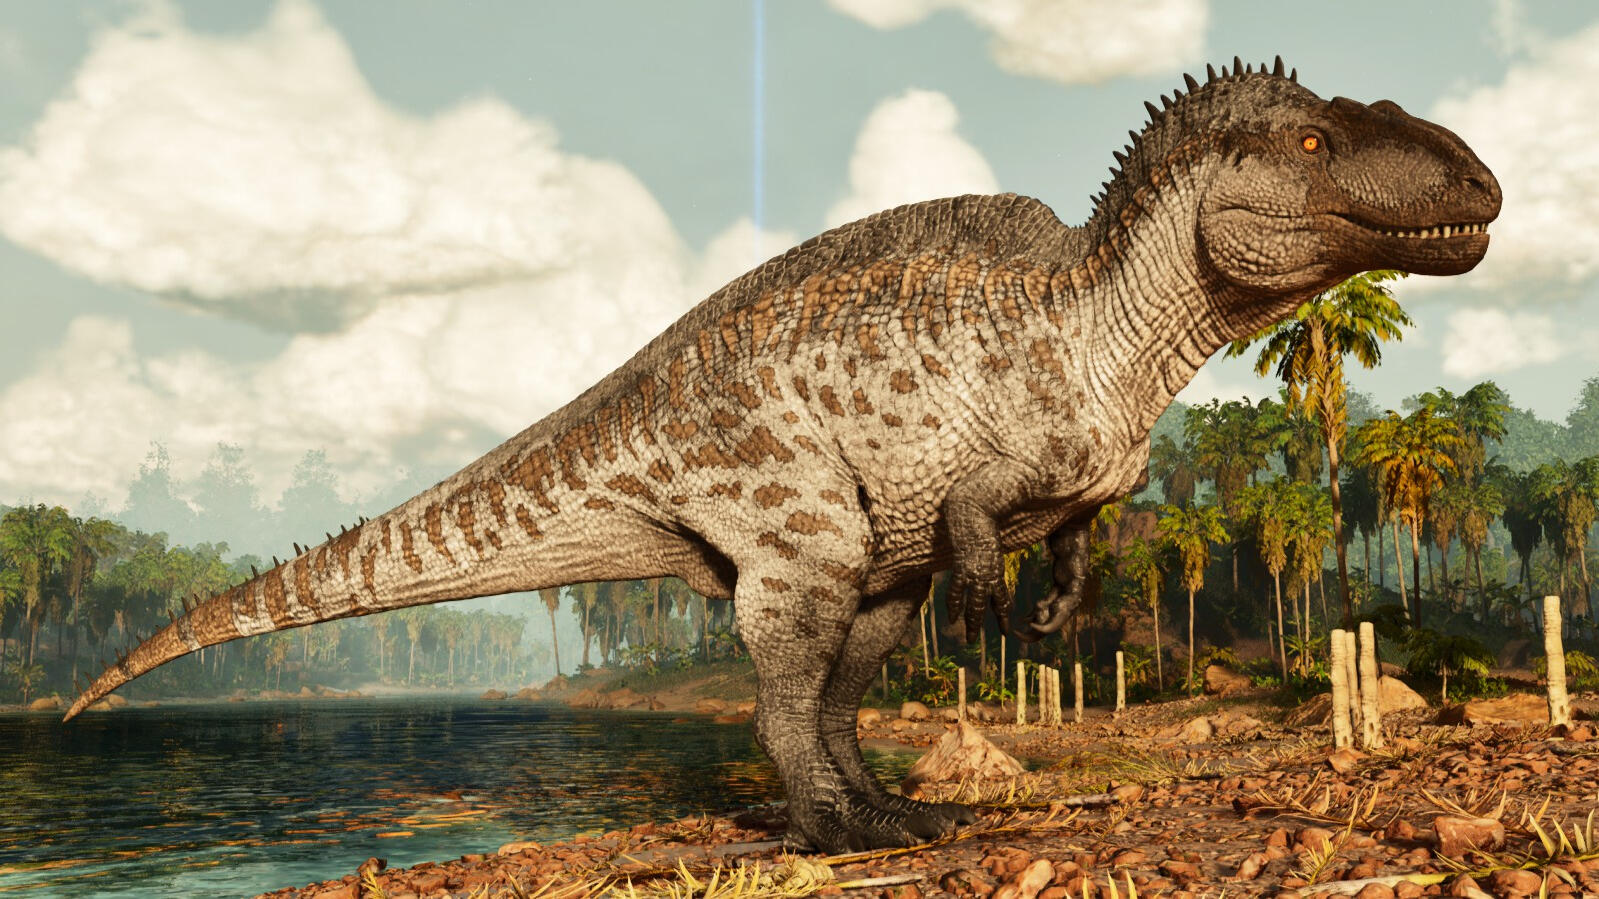
Acrocanthosaurus
- Spawns on the Island
- Spawns on The Center

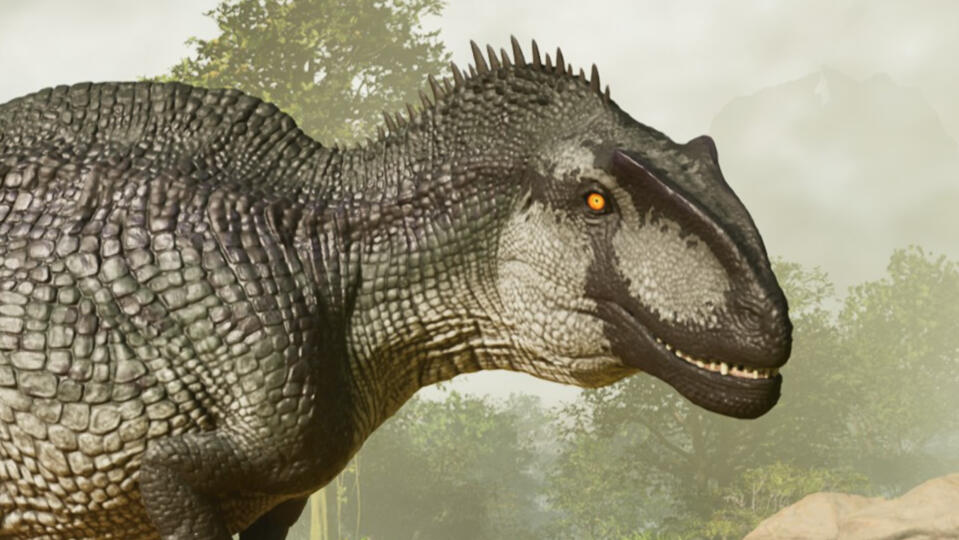
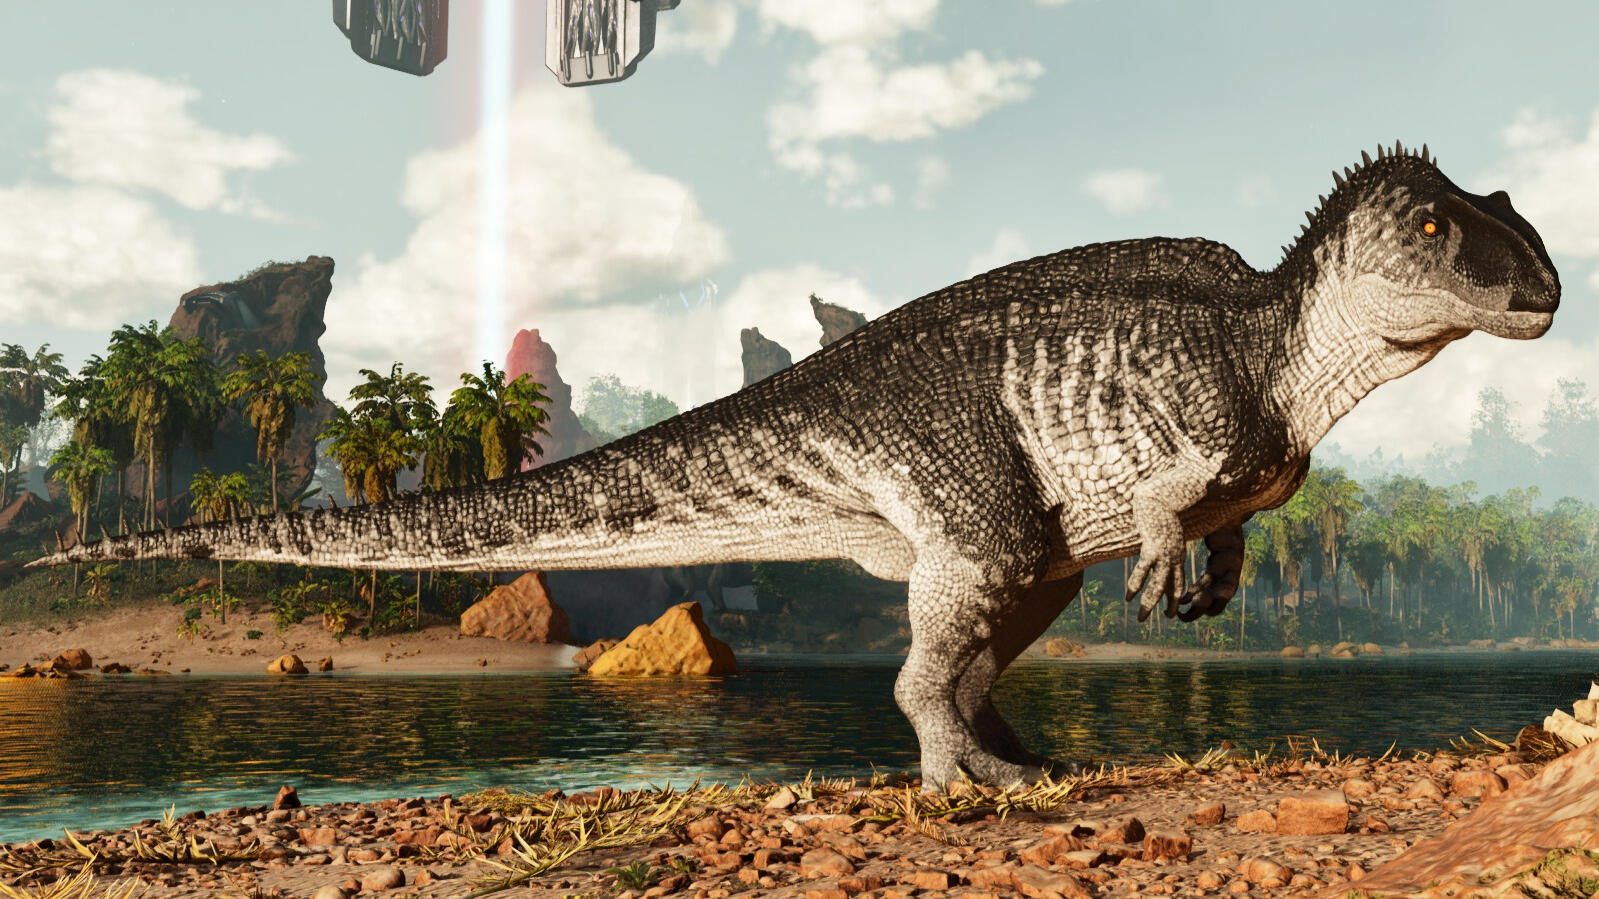
Ascended Acrocanthosaurus
- Spawns on the Island
- Spawns on The Center
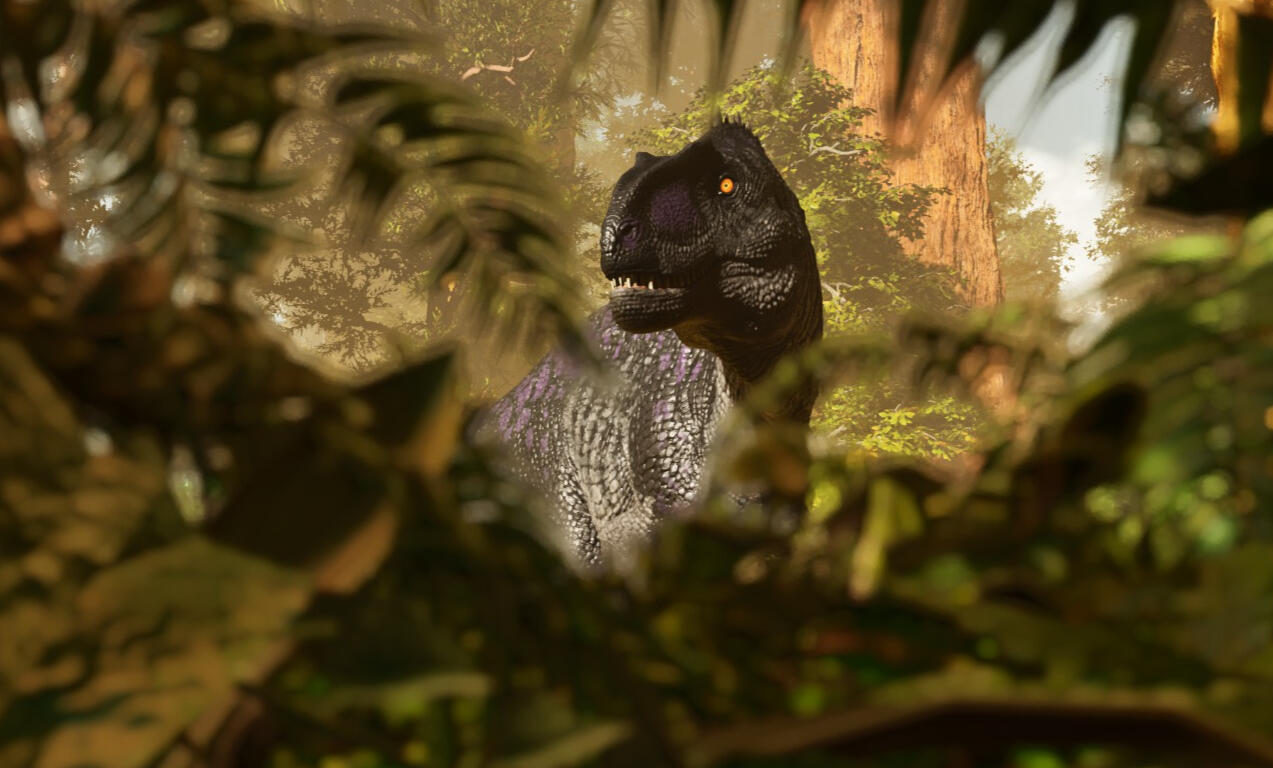
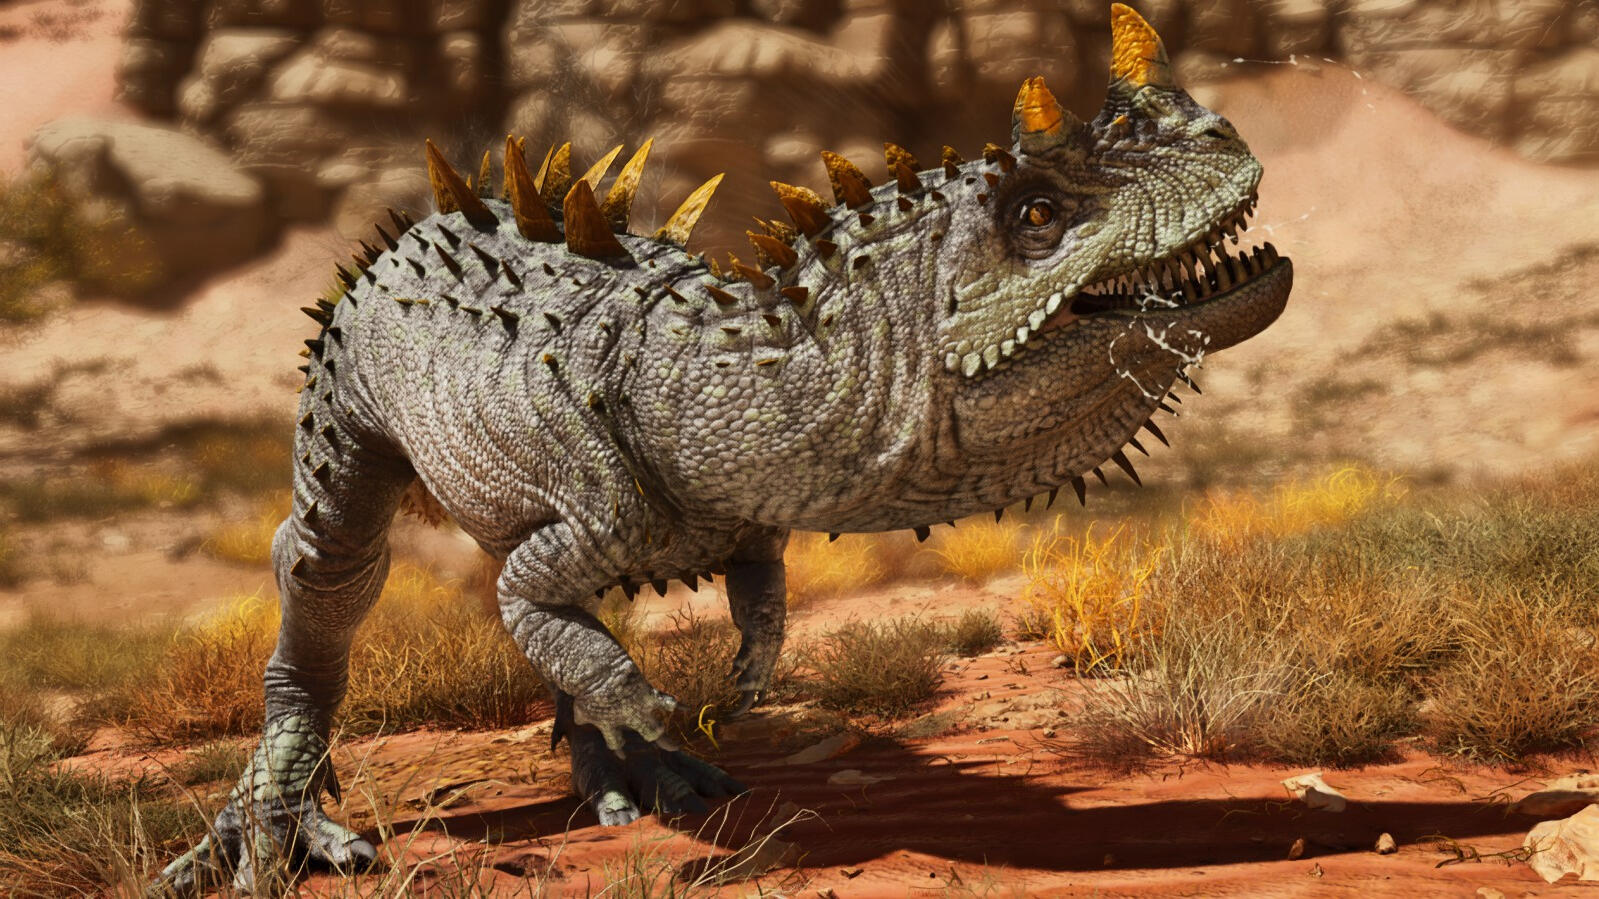
Scorched Acrocanthosaurus
- Spawns on Scorched Earth
Spawn Locations
The Island
- Spawns are Rough Estimates and may differ in game
The Center
- Spawns are Rough Estimates and may differ in game
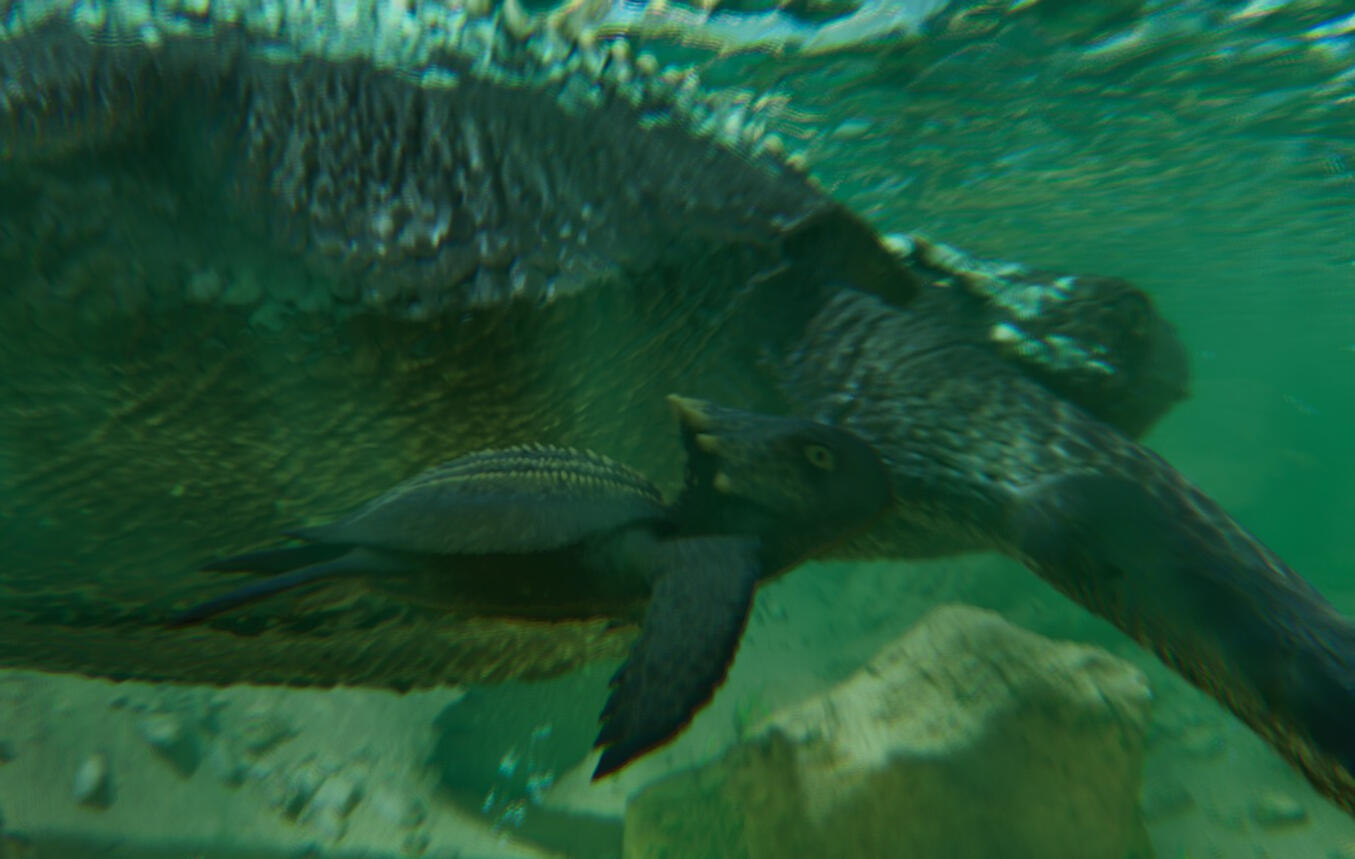
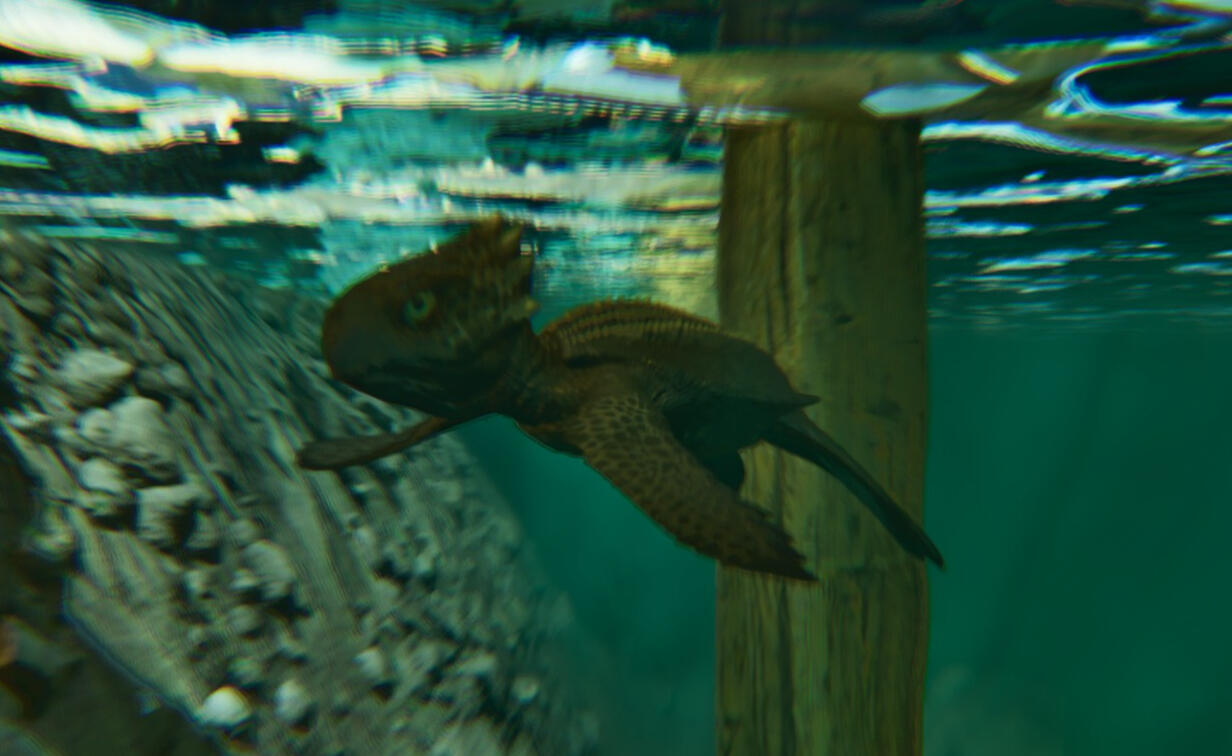
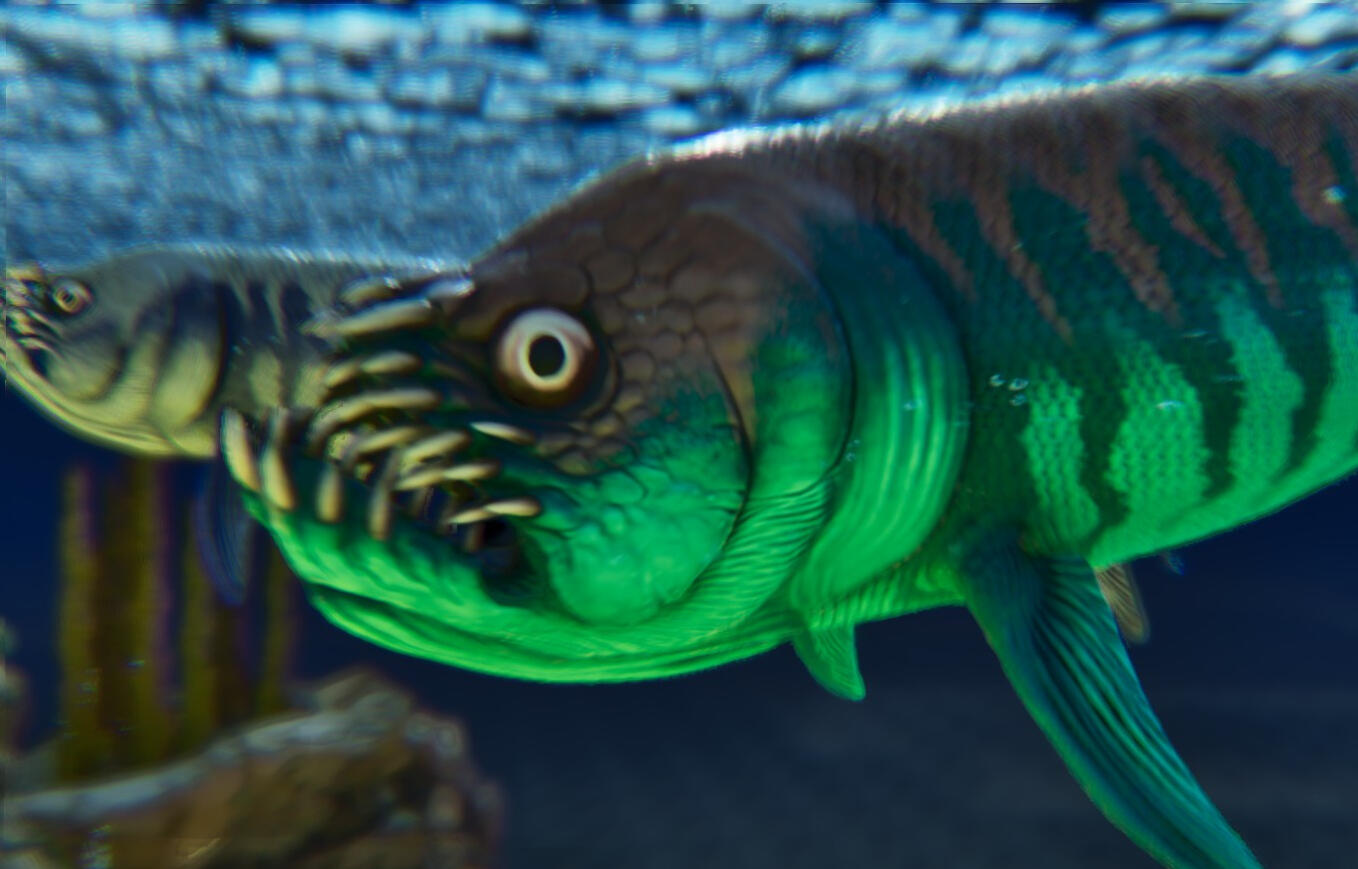
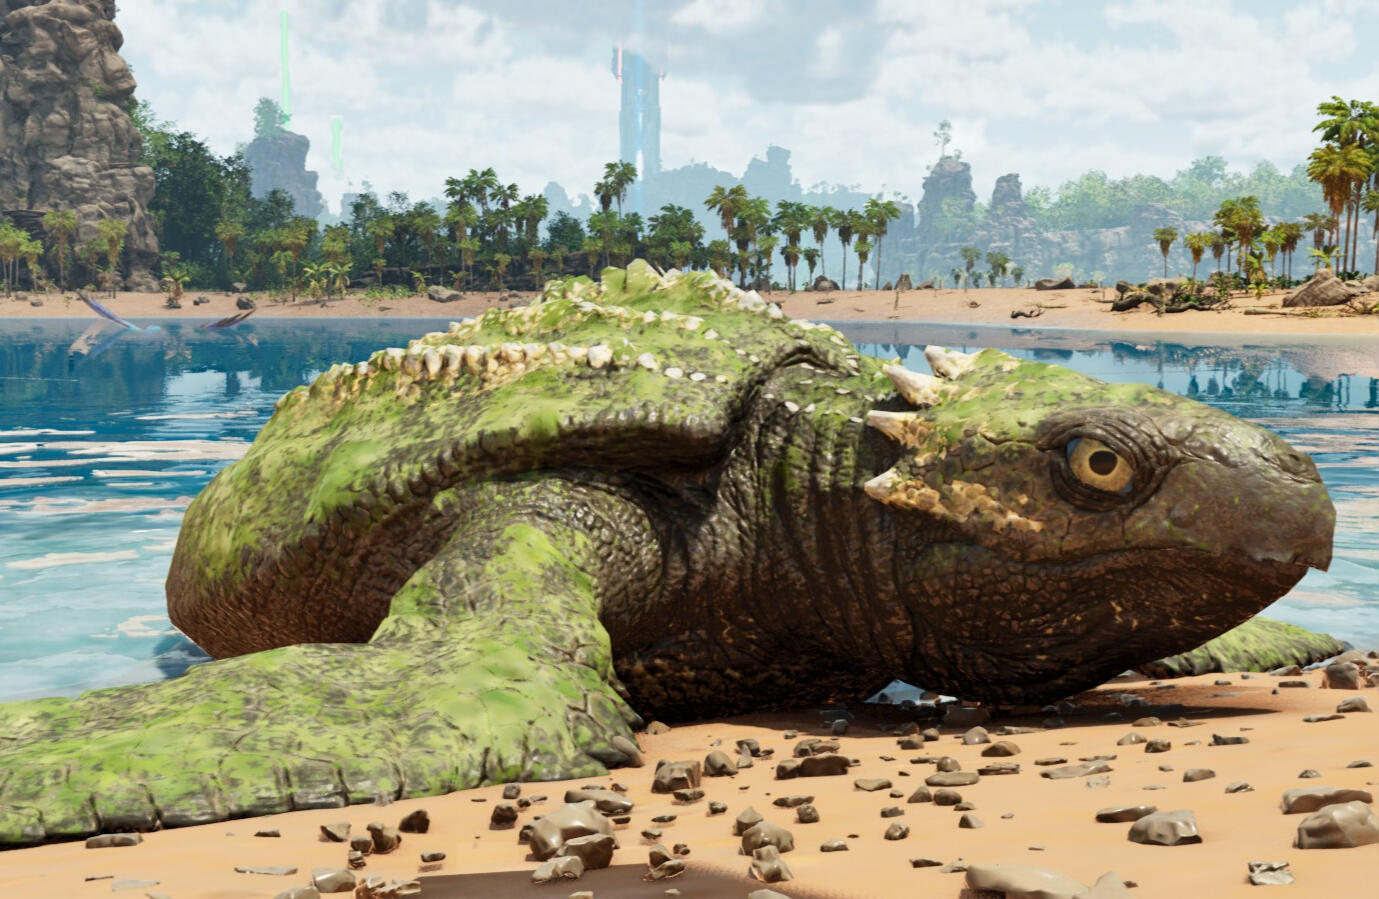
Taming Process
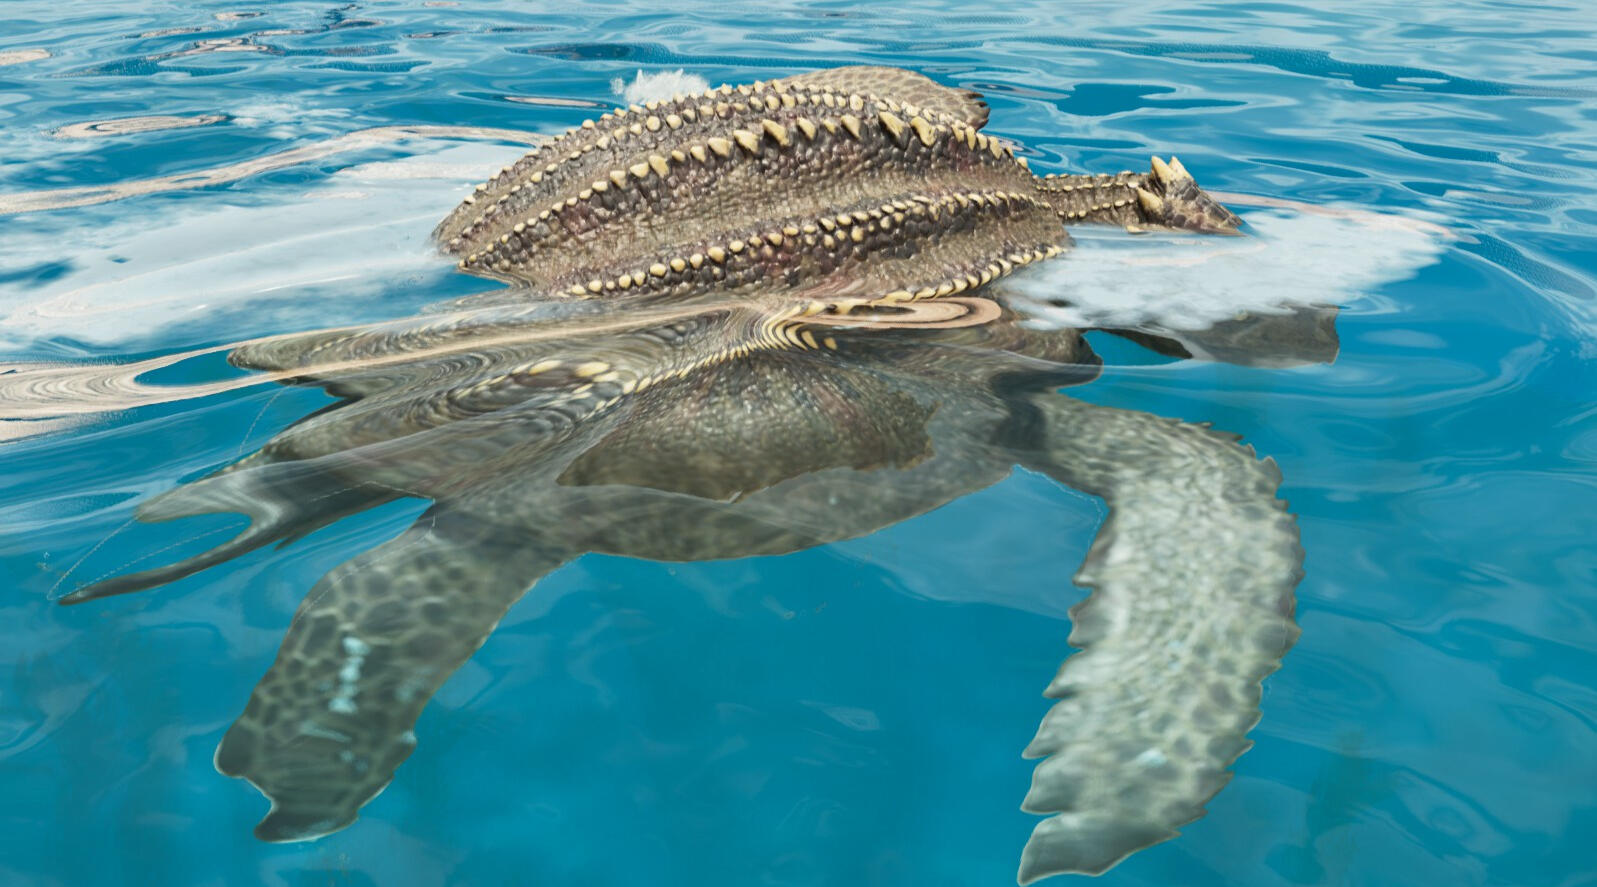
1. Locate an Archelon
- They can be swimming or lumbering around on land
- Cnidaria spawn around them
2. Passively feed your Archelon
- Be aware of surroundings, Xiphactinus and Megalodon will attack the Archelon
Preferred Foods
- Superior Kibble
- Bio Toxin
3. Congrats on your new Archelon!

Engrams & Requirements
- Saddle unlocks at Level 45
- Saddle Engram Cost: 44 pts
- Saddle Crafted in: Smithy
- Sushi crafted in Industrial Cooking Pot (Vanilla version)
Saddle Resource Costs
600 Fiber
200 Metal Ingots
850 Hide
250 Wood
Abilities & Utility
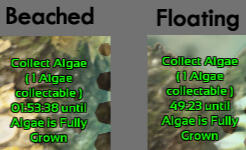
1. Algae
- They will slowly grow algae on their shells over time
- Being submerged drastically shortens the growth timer
- Leveling Food will increase the amount of Algae an Archelon can generate
- Can be harvested with the radial wheel
- Algae is used to make Sushi in the cooking pot

2. Sushi

- Sushi will restore some taming effectiveness when forcefed to an unconscious creature
- Crafted in the vanilla Industrial Cooker
- NOTE: Do not use sushi on passive tames as it may break taming
- NOTE 2: Some modded creatures (most it seems) are bugged and won't allow you to feed them the sushi

Crafting Cost
20 Archelon Algae
3 Raw Prime Fish Meat
10 Longrass
1 White Coloring
Usage
- Force feed the sushi from the downed creature's inventory
- Some modded creatures don't get the effect from the sushi
- Not for passive tames
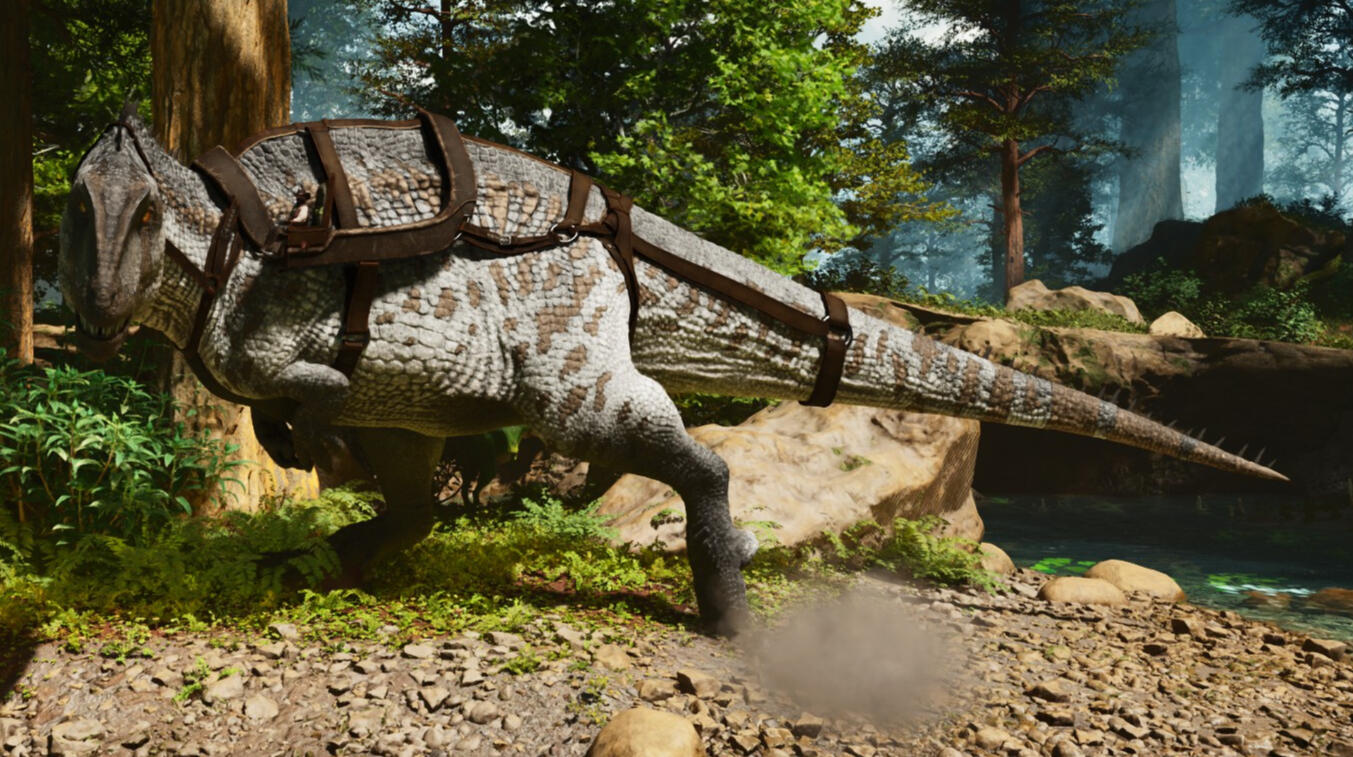
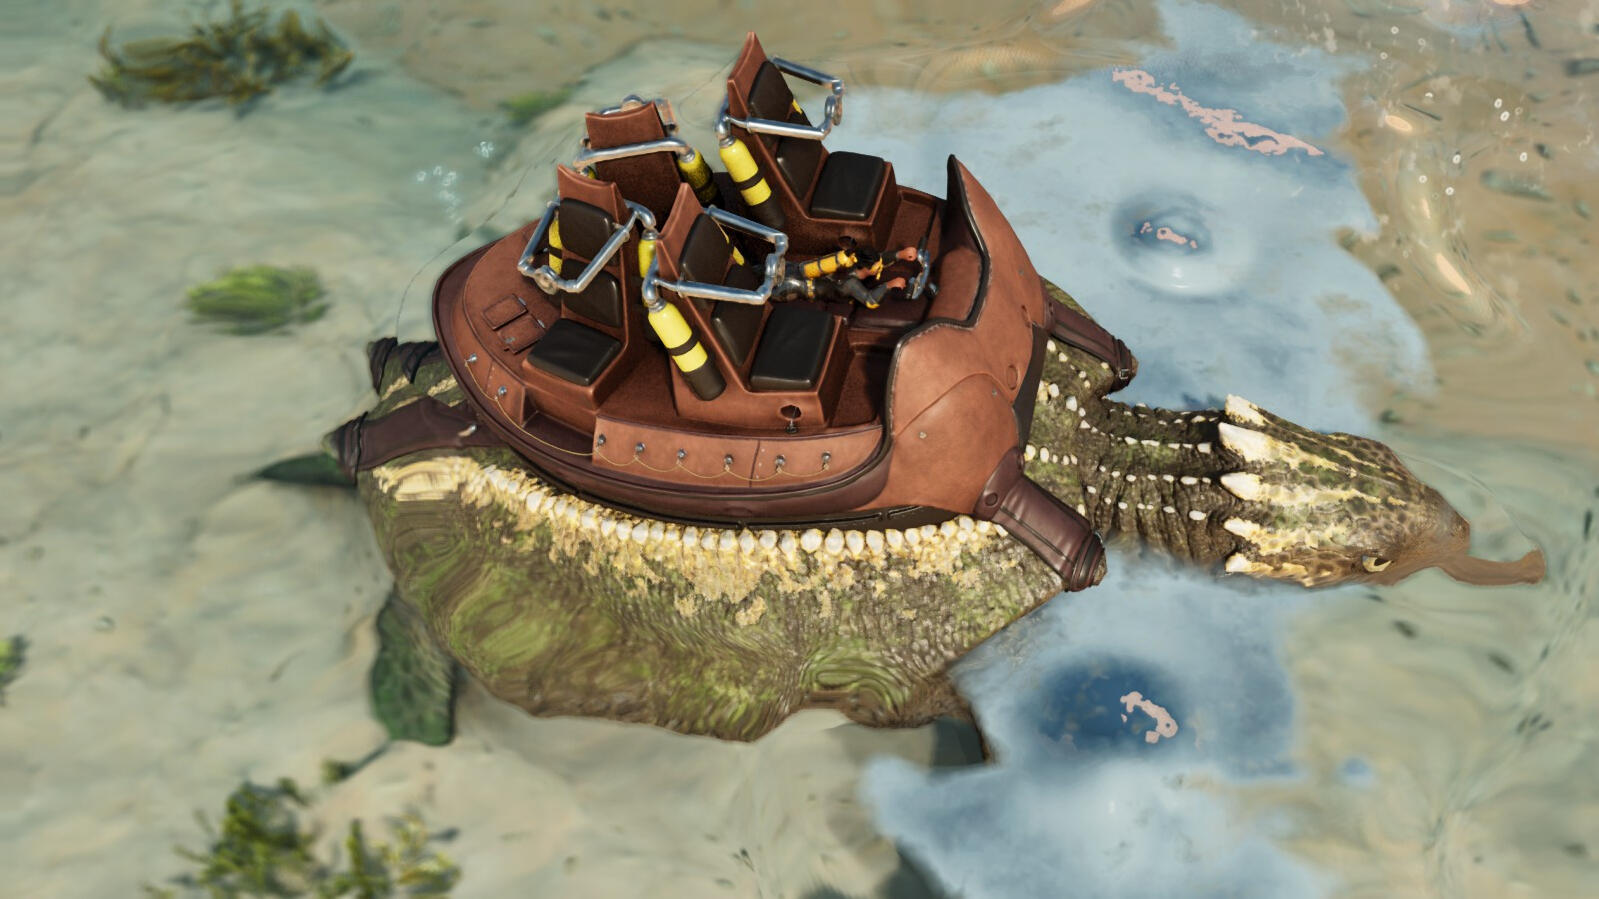
3. Saddle
- Seats five (driver + four passengers)
- Gives unlimited oxygen to mounted survivors
- Give oxygen to survivors in close proximity
4. Jelly Killer
- Immune to Cnidaria
- Jelly Killer buff drastically increases damage
- Efficient bio toxin harvester
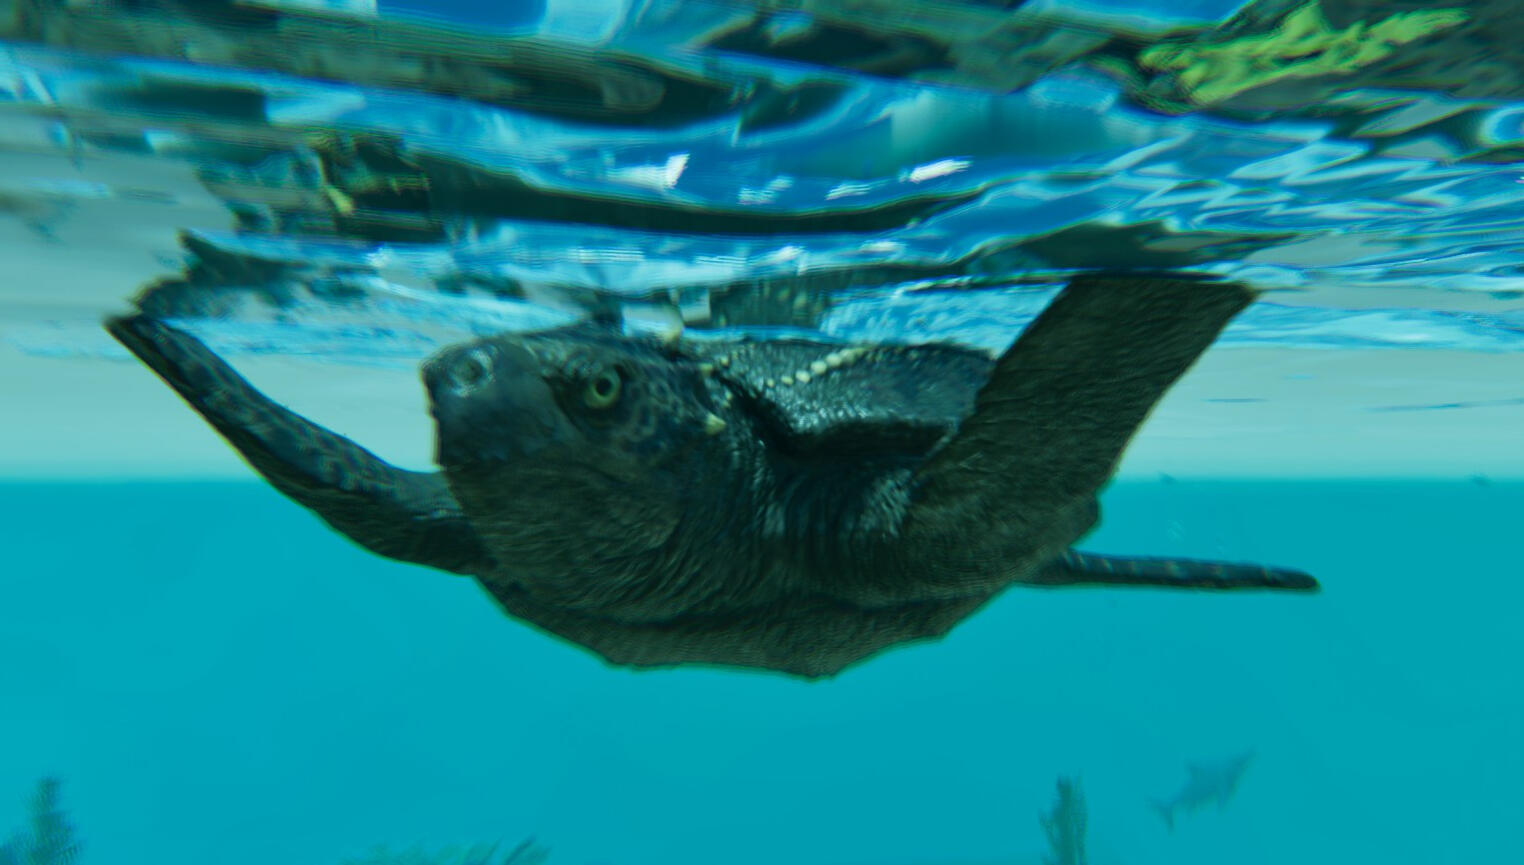
5. Mobility
- Slow on land
- No ill effects for being on land
- Decent swim speed
Breeding
Can breed on land
- Eggs won't instantly die on land
- Babies can hatch on land

Growing Babies
- Must be brought into water within 5 minutes of hatching or they will die
- They must remain submerged until fully grown to prevent death
- Must be fed Bio Toxin (adults can also eat berries)
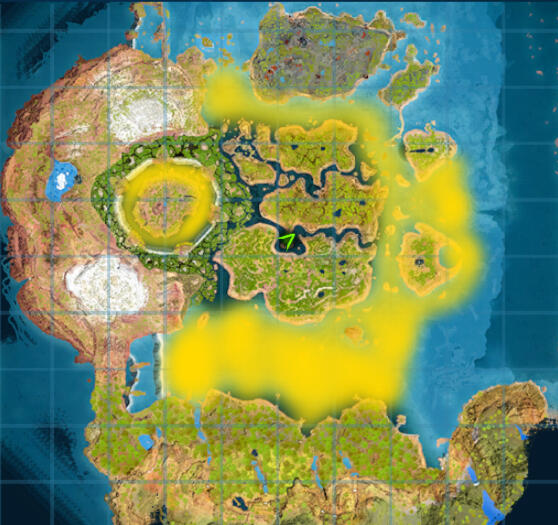
Spawn Locations
The Island
- Spawns are Rough Estimates and may differ in game
Scorched Earth
- Spawns are Rough Estimates and may differ in game
The Center
- Spawns are Rough Estimates and may differ in game
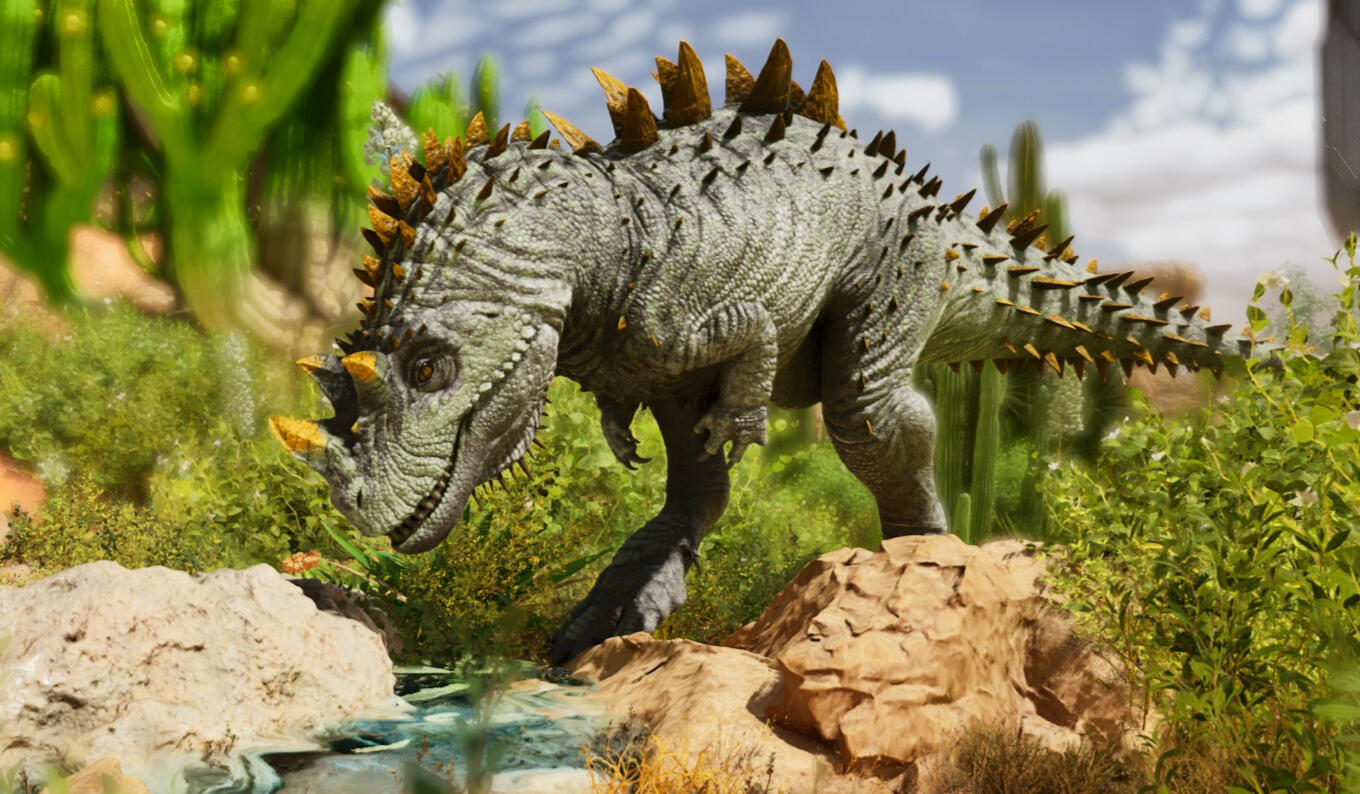
Taming Process
1. Locate a Ceratosaurus
- Ceratosaurus are highly aggressive and will attack most things so clear the area
- They do spawn with babies if you don't care about bonus levels or have a Gigantoraptor
2. Feed your mount a Hemogoblin Cocktail
- This will give your mount a buff and will attract the Ceratosaurus to attack it
- You'll know it's active by a bright pink cloud around your tame
- Recommended to use a tanky mount; Rock Elementals work well as do Acrocanthosaurus in Shield Stance
3. Let the Ceratosaurus get Blood Drunk
- The percentage will show in pink floating numbers as it rises
- You may need multiple cocktails
- Once the Ceratosaurus hits 100% drunk, it will stop attacking and become passive
- The red cloud and sparkles are the blood venom debuff from the Cerato

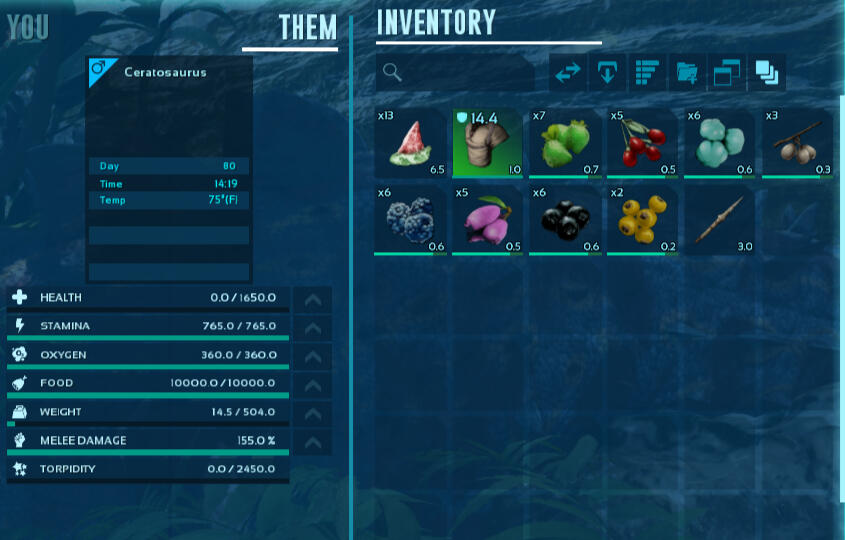
3. Passive feed the Ceratosaurus

- Easy as it sounds, just be aware of hostile creatures in the area
Preferred Foods:
Extraordinary Kibble
Raw Mutton
Raw Prime Meat
3. Congrats on your new Ceratosaurus!
Engrams & Requirements
- Saddle unlocks at Level 60
- Saddle Engram Cost: 40 pts
- Saddle Crafted in: Smithy
Saddle Resource Costs
270 Fiber
20 Metal Ingots
130 Hide
Abilities & Utility
1. Cerato Venom Spine

- Killing Ceratosaurus will drop Cerato Venom Spines, an ingrediant needed for Hemogoblin Cocktails to tame them
2. Hemogoblin Cocktail
- Needed to be able to tame a Ceratosaurus

- Unlockable at Level 60
- Unlocks for 25 Engram Points
- Crafted in player inventory

Recipe
- 15 Blood Packs
- 10 Cerato Venom Spines
- 10 Narcotic
3. Attacks
- Bite Attack: Straightforward bite, if the camera is angled 90° degrees to the sides or looking behind; the Cerato will bite and pivot that direction (primary attack)
- Horn Thrust: headbutts the target and applies the Blood Venom debuff (secondary attack)
- Tail Lash: Hits all opponents with its tail when looking to the sides or behind and the Cerato will pivot that direction. Applies the Blood Venom debuff
- Reflective Damage: Ceratos inflict reflective damage on attackers for 7% of the damage received, they will also inflict the venom debuff
- Cosmetic Roar

4. Blood Venom debuff

- When an opponent is hit with the Horn Thrust or Tail Lash attack, they receive the debuff
- This debuff will cause a healing surge on the Ceratosaurus as long as it attacks the target
- Tamed Ceratosaurus share the healing buff with allied carnivores
5. Speed
- Ceratosaurus gain monentum as they run
- Running without stopping will fill a bar, at 75%+ the cerato gains a speed boost and will break rocks when it hits them
- Using the Horn Thrust attack at full speed will apply more damage

Spawn Locations

The Island

- Spawns are Rough Estimates and may differ in game
Scorched Earth
- Grave of Tyrants Cave and the Oasis Cave
The Center
- Spawns are Rough Estimates and may differ in game
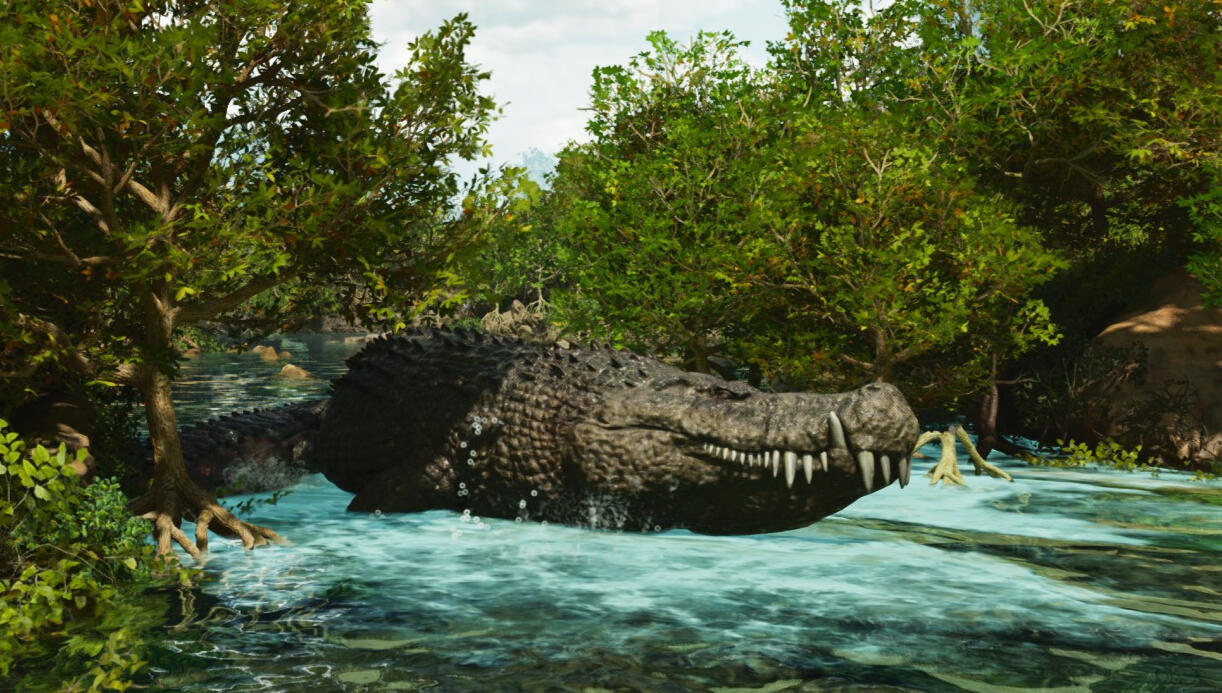
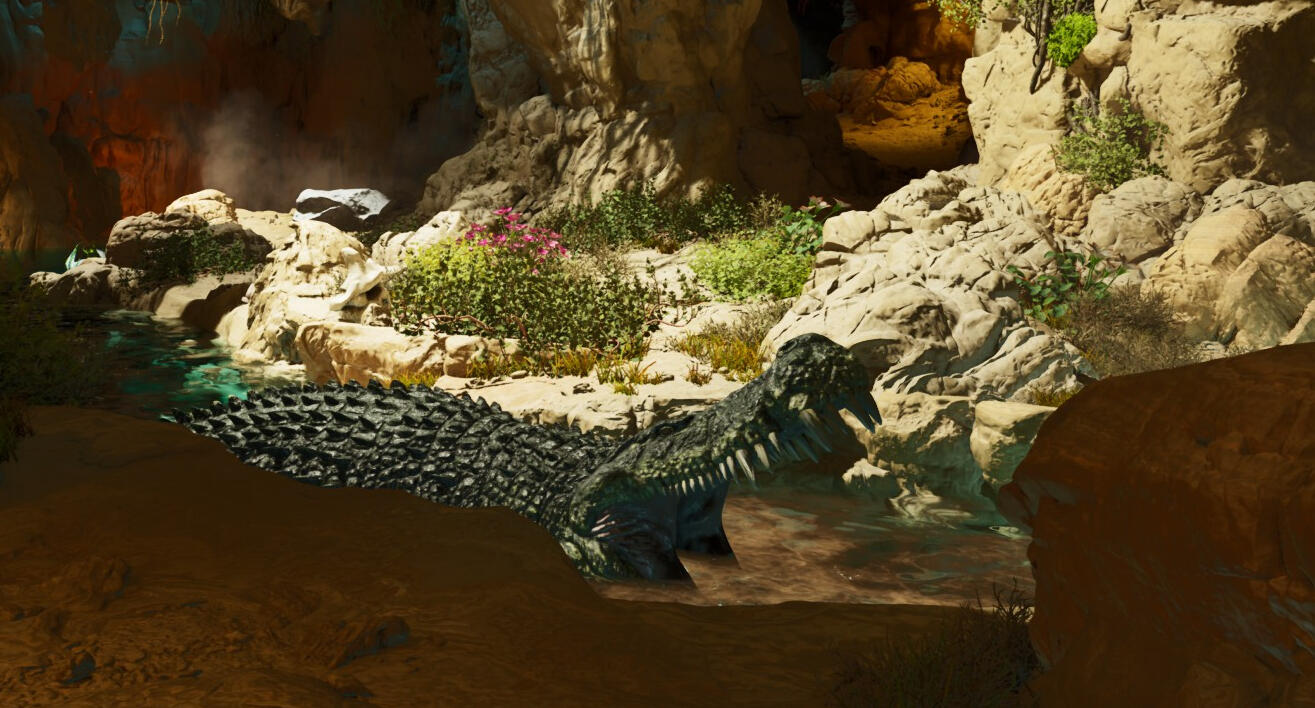
Taming Process
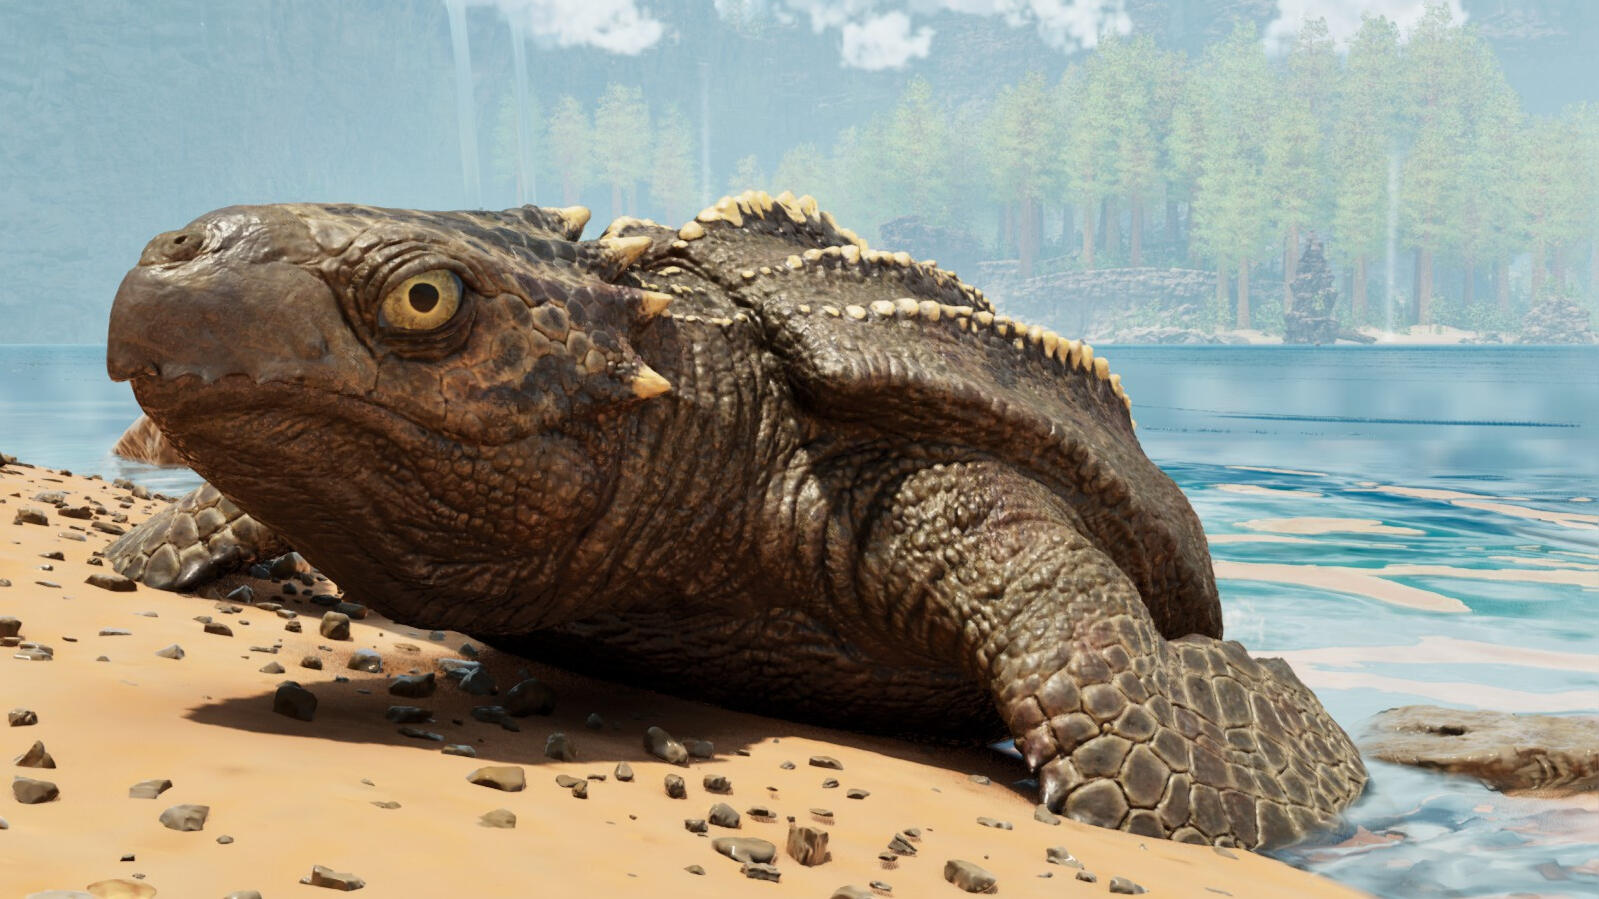
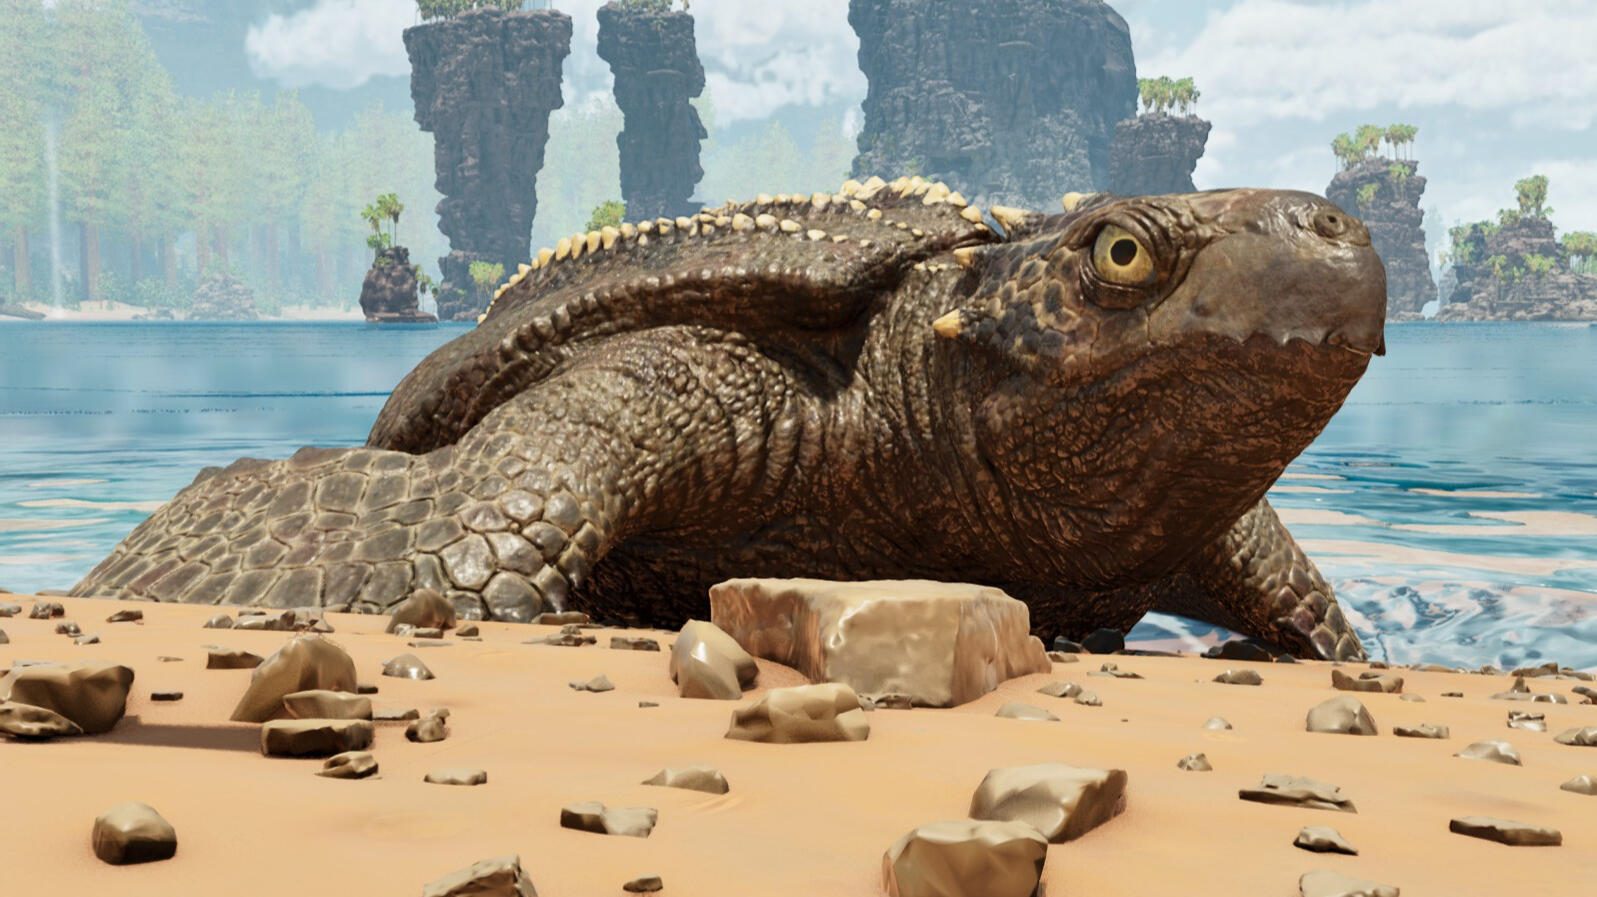
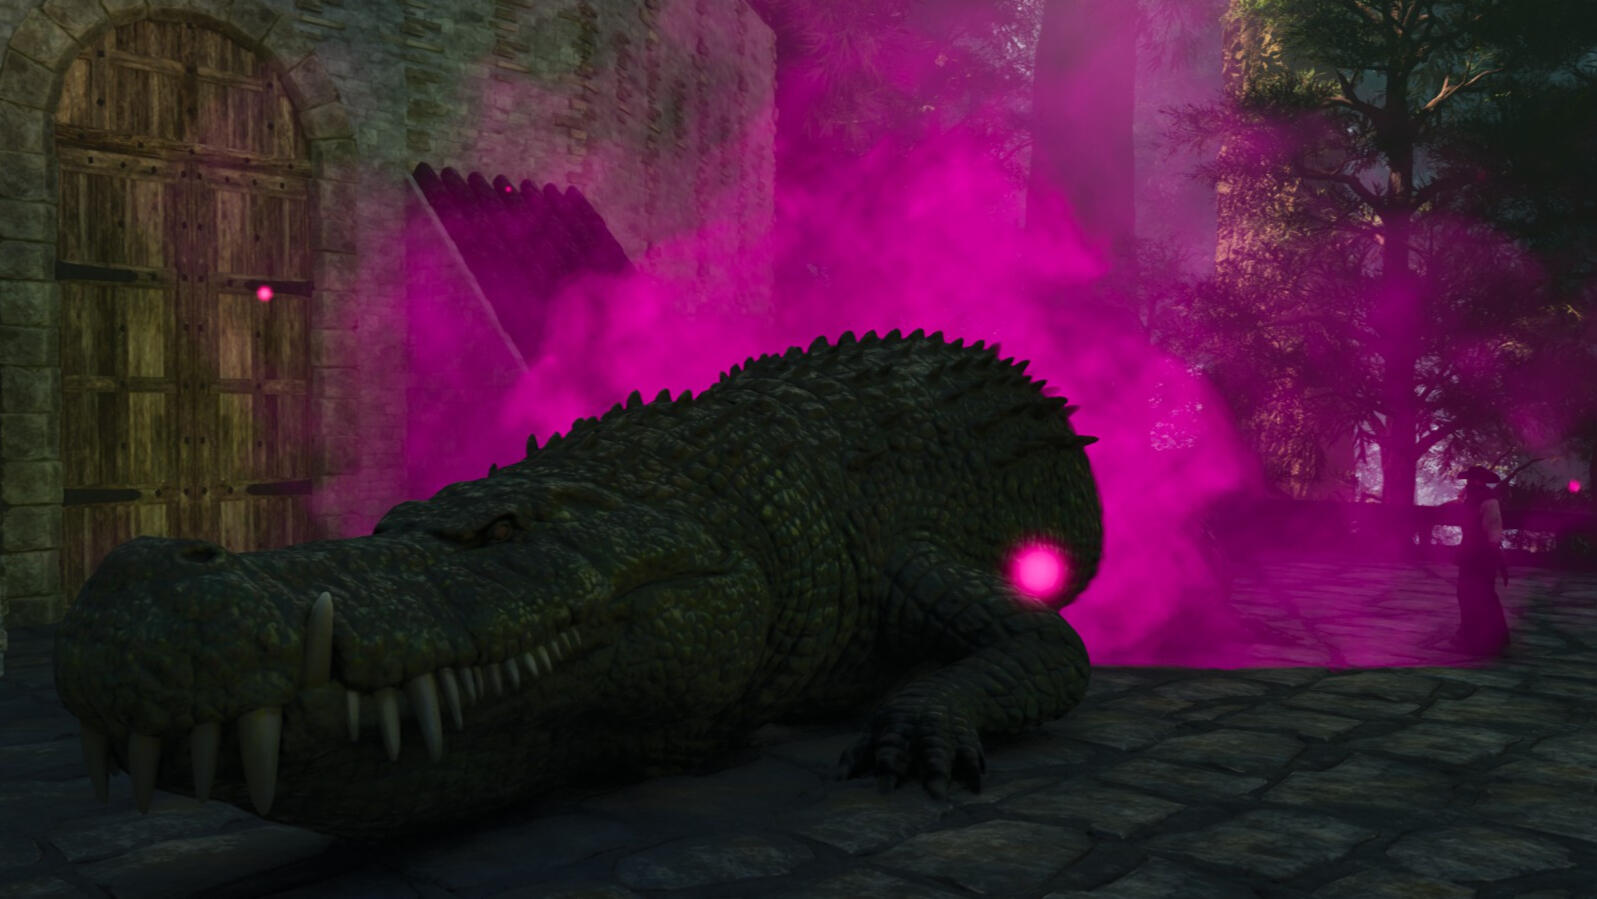
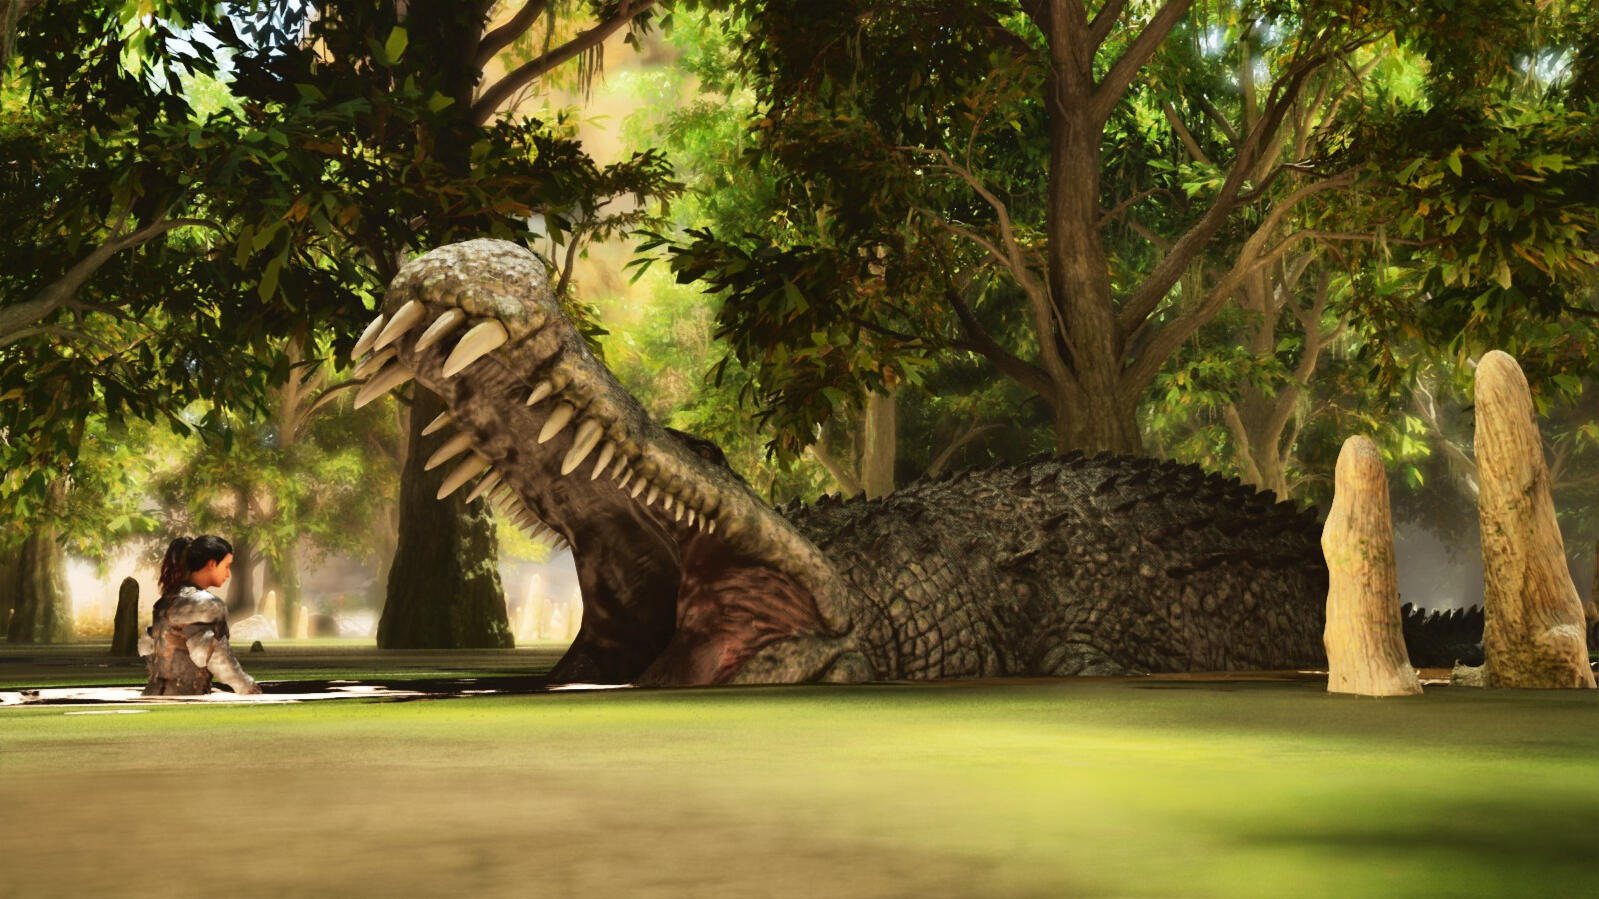
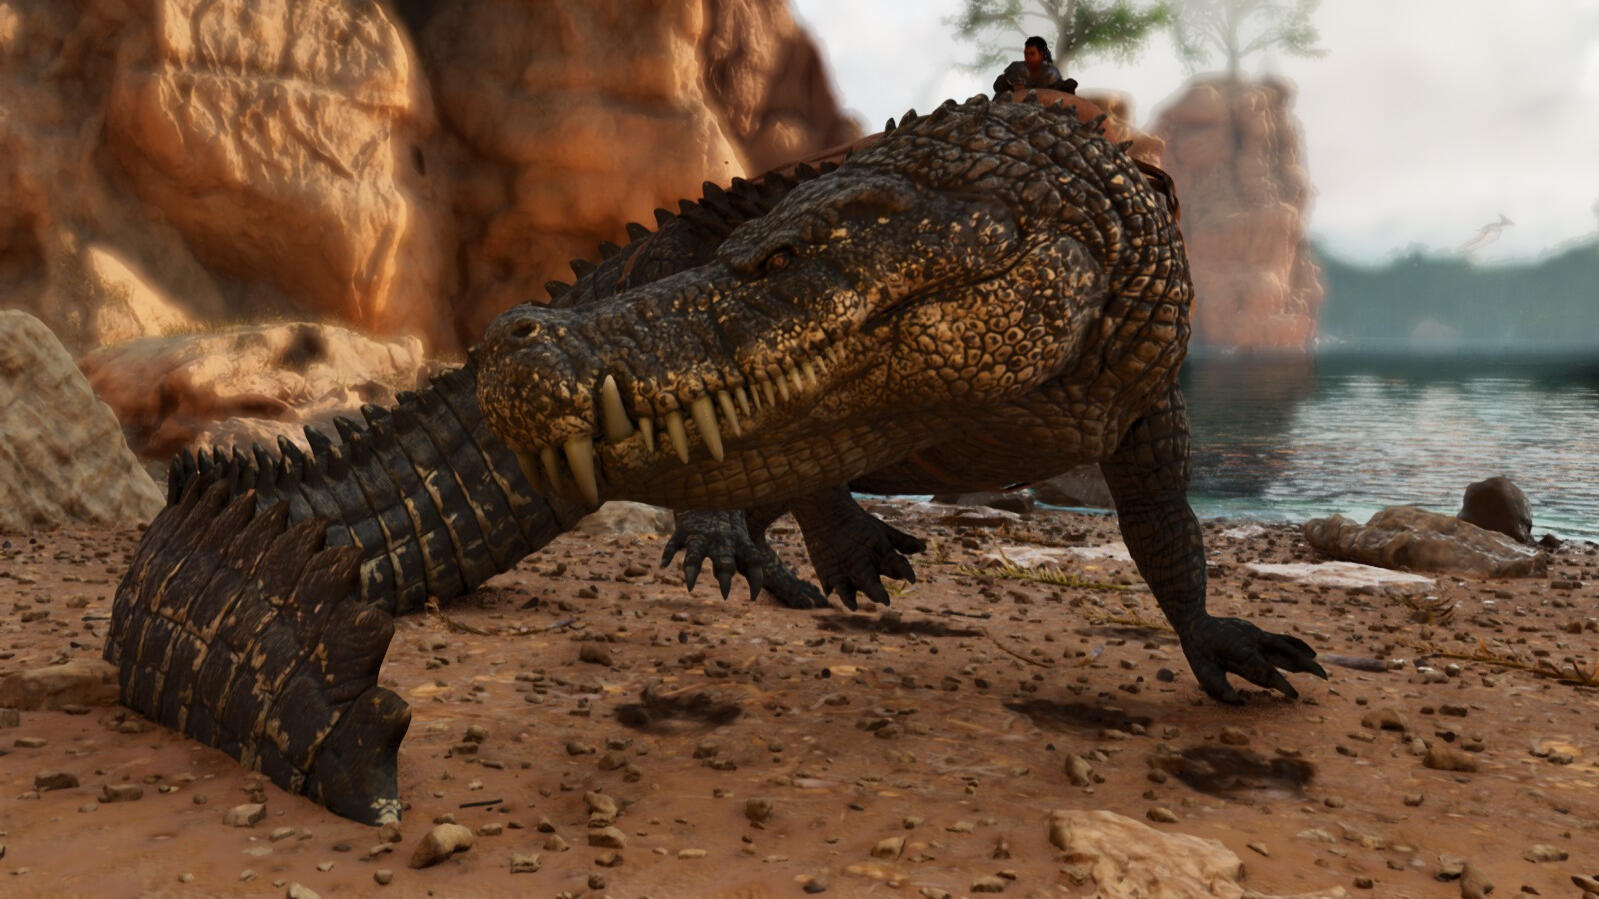
1. Locate a Deinosuchus
- They are very aggressive
- Recommended to clear out the area before taming
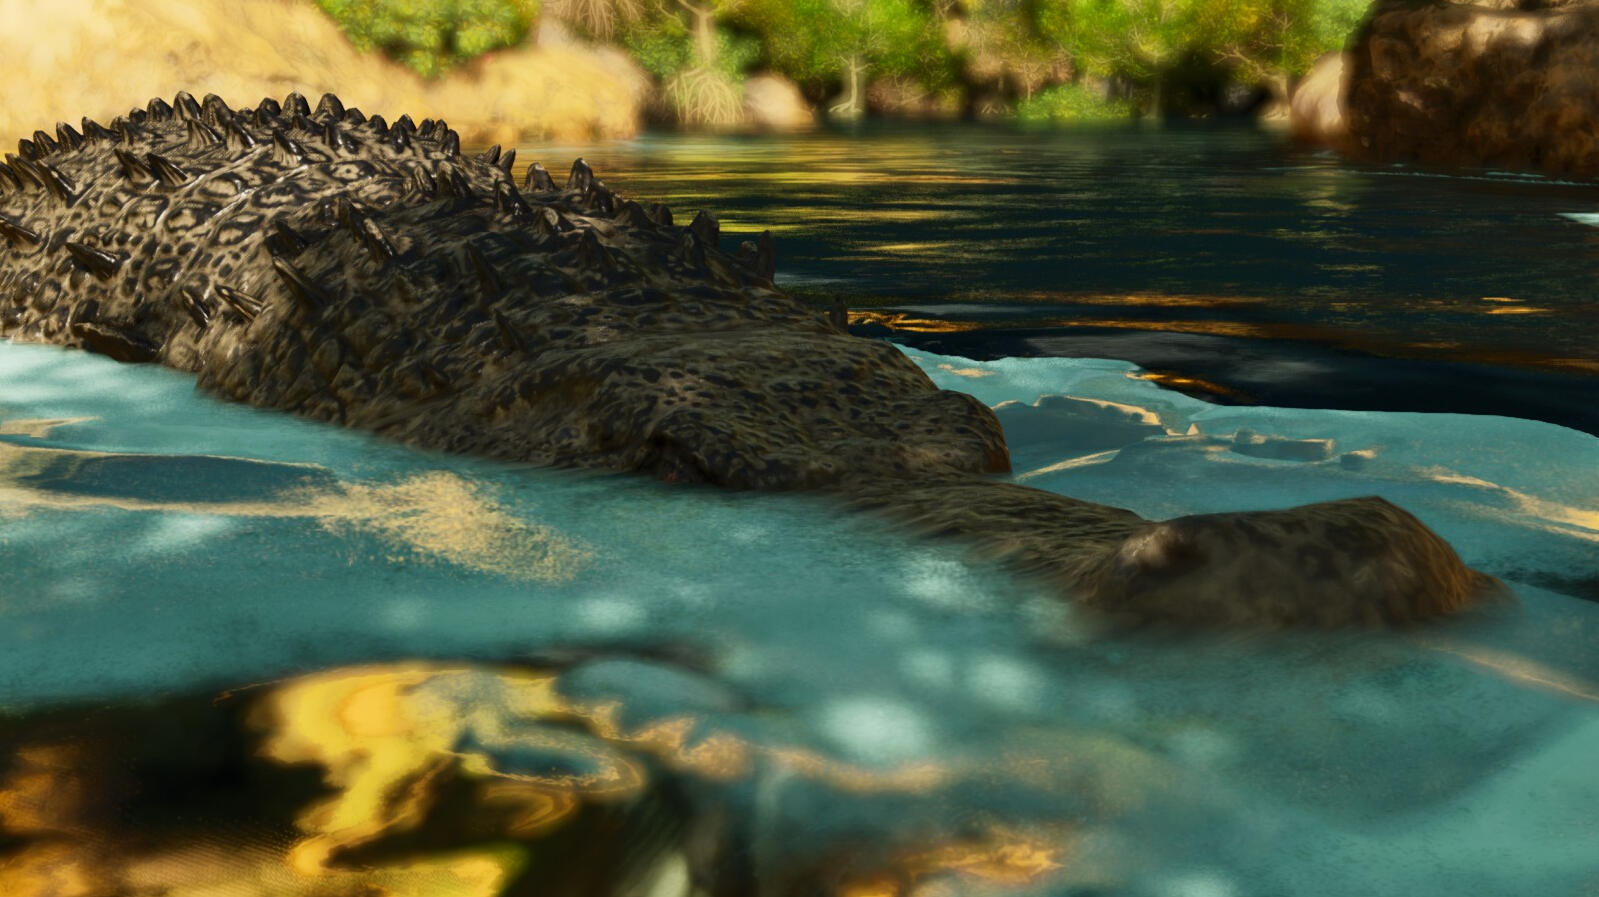
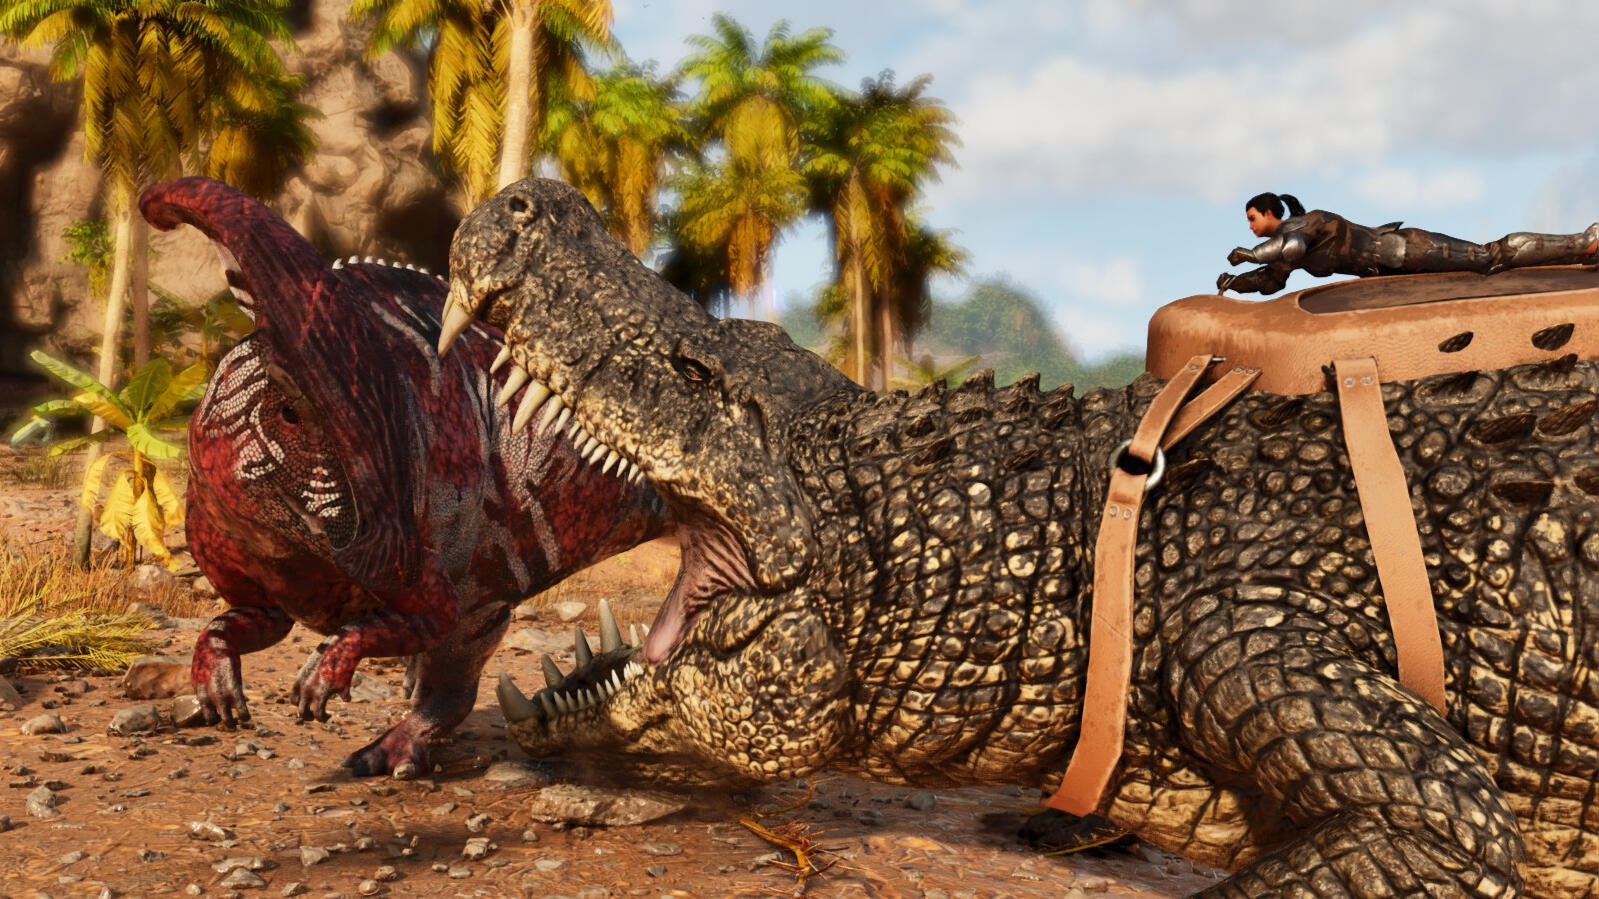
2. Wait for it to bask
- They will stop moving and open their mouths wide
- They can do this on land or floating in water
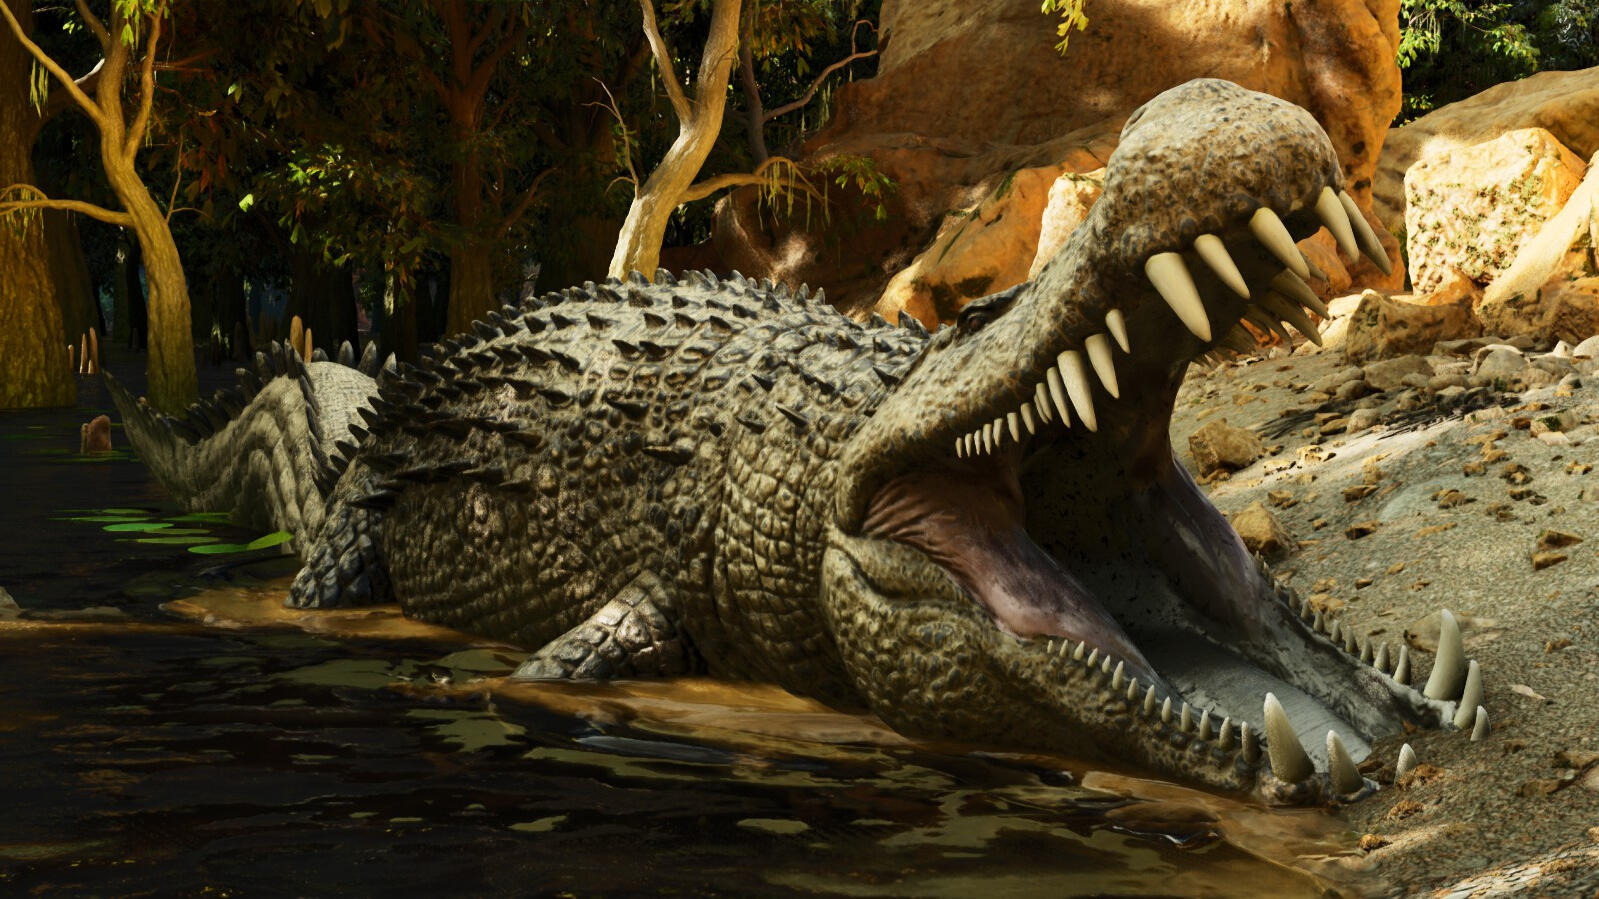
3. Run up to the Deinosuchus' mouth and passive feed it
- Be sure to approach from an angle that they don't see you from or they'll attack you
- Run immediately after feeding it to try to avoid it aggroing onto you
Preferred Foods
- Superior Kibble
- Raw Mutton
- Raw Prime Meat
4. Passive feed until the Deinosuchus tames
- You can move them into a trap and feed them through gates if their mouths stick out, if you want a little less risk or are taming multiple
4. Congrats on your new Deinosuchus!
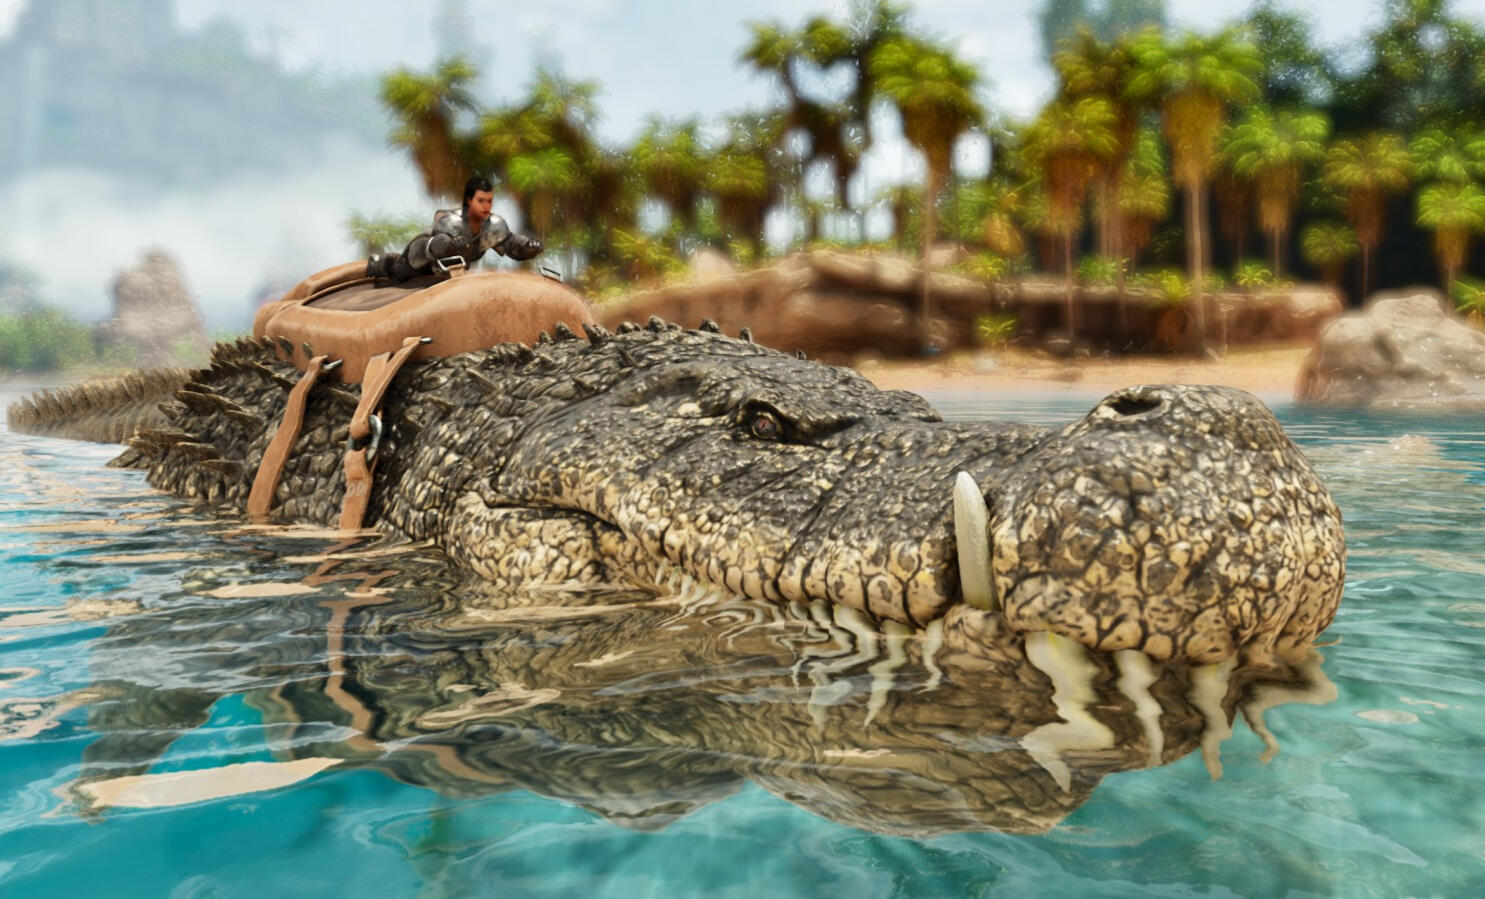
Engrams & Requirements
- Saddle unlocks at Level 74
- Saddle Engram Cost: 40 pts
- Saddle Crafted in: Smithy
Saddle Resource Costs
- 200 Fiber
- 50 Metal Ingot
- 380 Hide
Abilities & Utility
1. Directional Movement
- Deinosuchus will turn in place following where you point the camera
1. Bite
- Using the primary bite while looking to the sides will use a lunging bite in that direction
- Deals a good amount of damage with a decent attack speed
- Can be used on land and while swimming
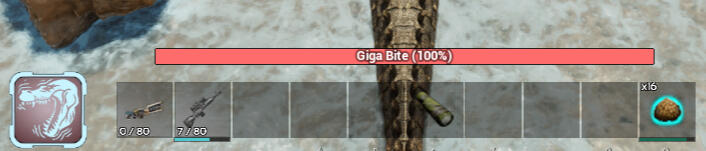
2. Giga Bite
- Hold down your secondary attack button to charge the bite
- 40% and higher will use the attack
- Charging the bite to 100% will inflict a large amount of damage and inflict the fractured debuff
- Can be used in water or on land
Fractured Debuff

- Inflicts bleed damage on the opponent, less if they remain still
4. Tail Swipe
- Using C for PC while looking to either side will use the tail swipe
- Can only be used on land
5. Roar
- CTRL on PC activates a cosmetic roar
6. Swimming
- Swimming at the surface will switch the deinosuchus into Surface Swimming mode where it will stay even if you look straight down
- Diving will then switch it into Free Swimming which will allow you to dive and move freely underwater
- A swimming deinosuchus will scare pirahnas
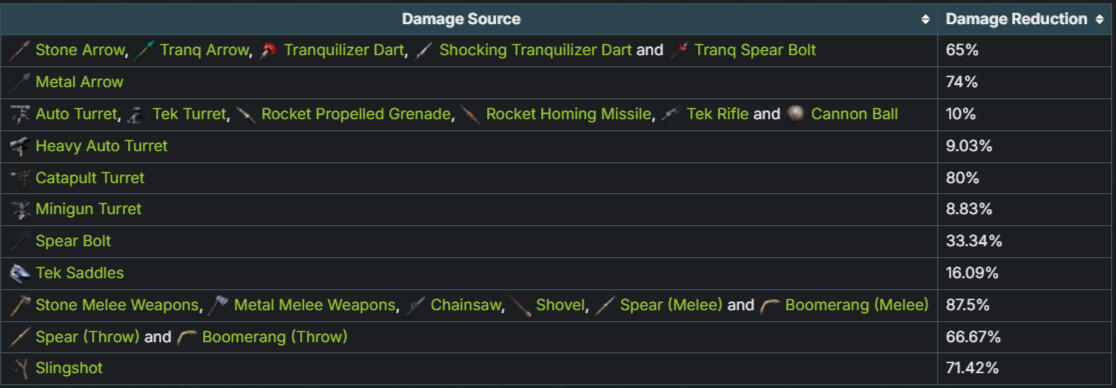
7. Damage Reduction
- All damage to the head is reduced by 50%
- Deinosuchus' body reduces the incoming damage depending on the type of damage and all those multipliers stack with the head multiplier
7. Ghille Effect
- Deinosuchus are ignored by nearly all hostile creatures
- This allows them to navigate through caves without fighting, even the Tek Cave
- This also allows them to be Giga/Carcha killers coupled with the bleed from the Giga Bite (the bleed and damage output can also make them Titanosaur killers)
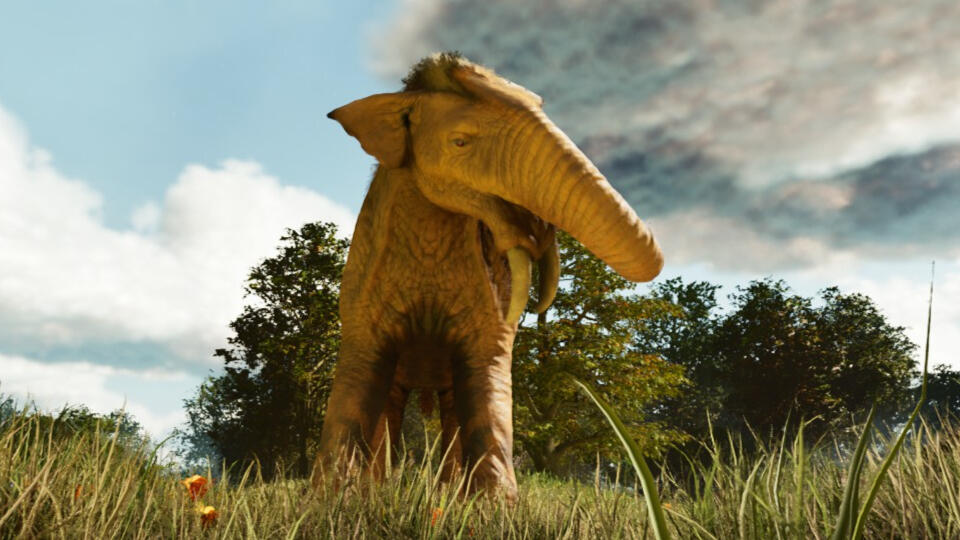
Deinotherium

Spawn Locations
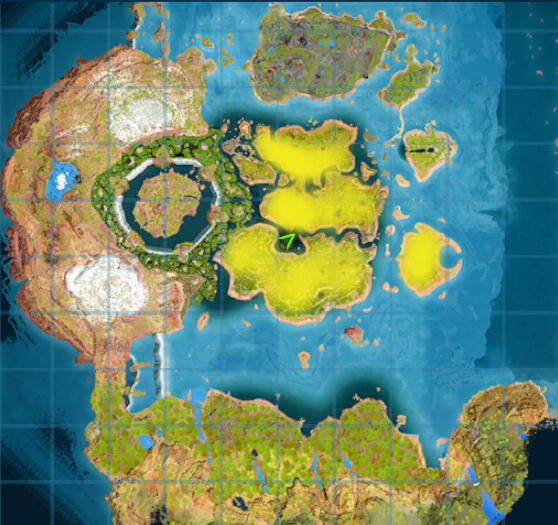
The Island
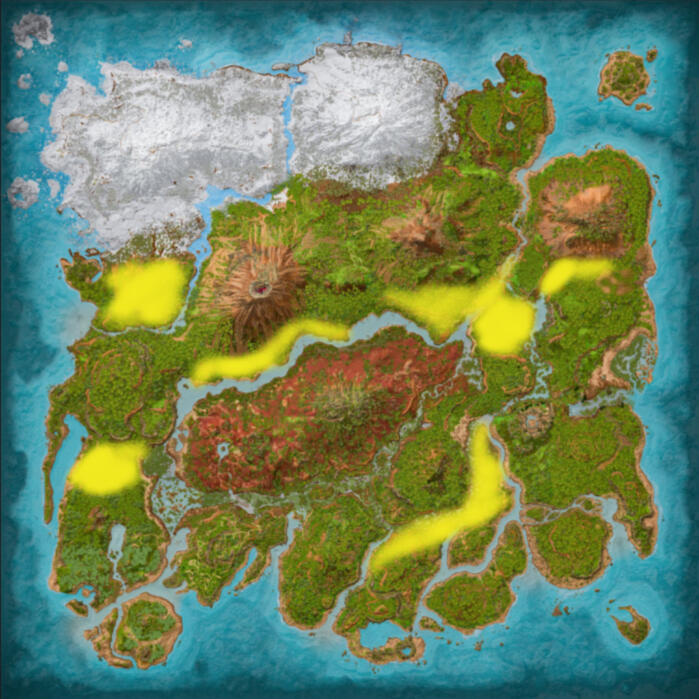
- Spawns are Rough Estimates and may differ in game
NOTE: They are disabled on the GForce Island server
Scorched Earth
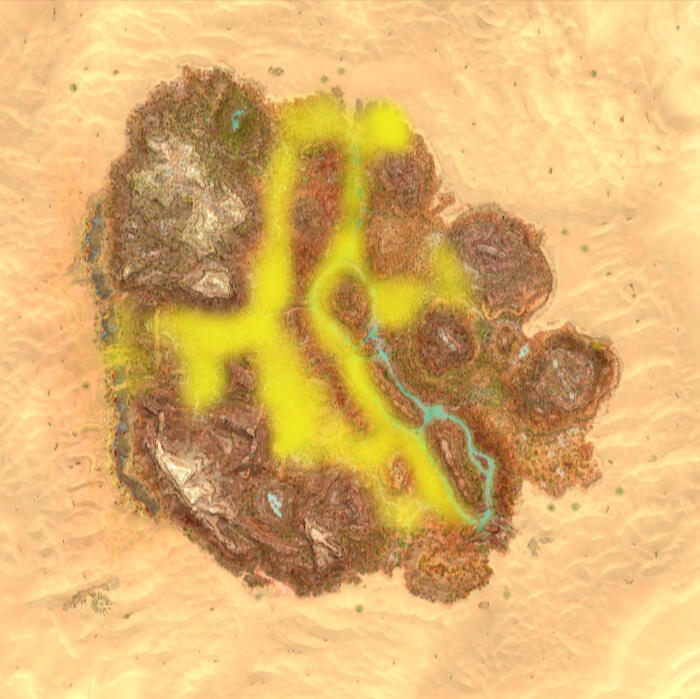
- Spawns are Rough Estimates and may differ in game
The Center
- Spawns are Rough Estimates and may differ in game
NOTE: They are disabled on the GForce Center server
Taming Process
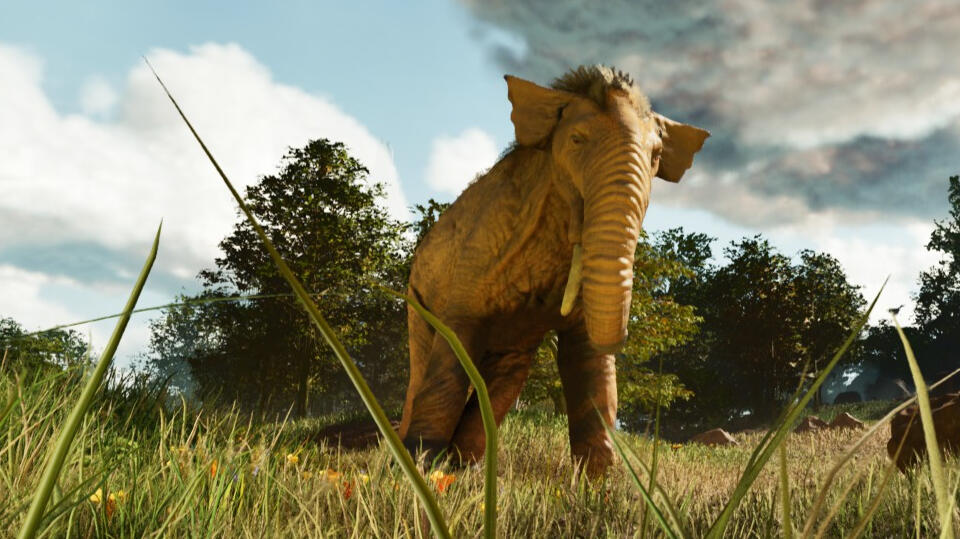
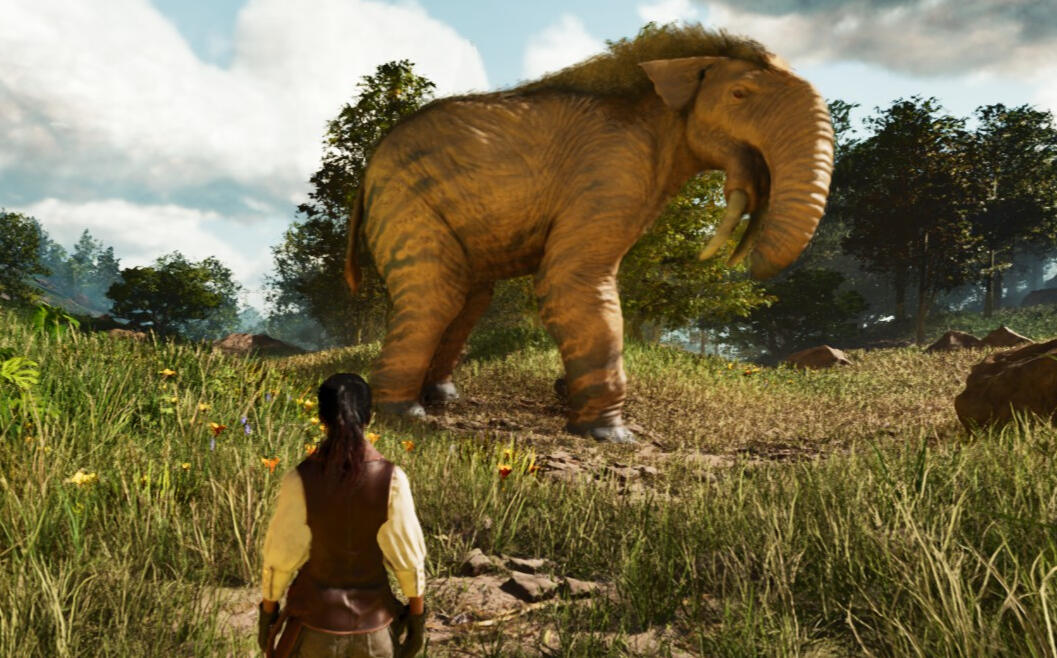
1. Locate a Deinotherium
- You must be LEVEL 95 at minimum to tame a Deinotherium
- They travel in herds
- Separate the one you want to tame either by killing the others or trapping them away from the chosen one
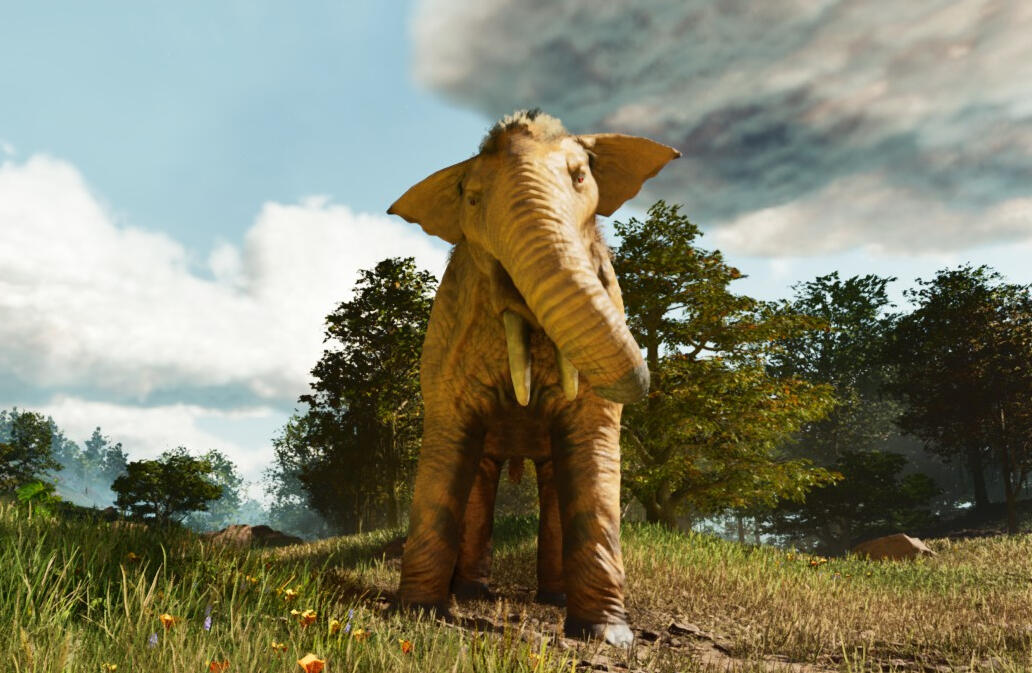
2. Put Beer in your last hotbar slot
- When the Deinotherium detects the beer, it will raise its trunk in the air
Preferred Foods
Beer Jar
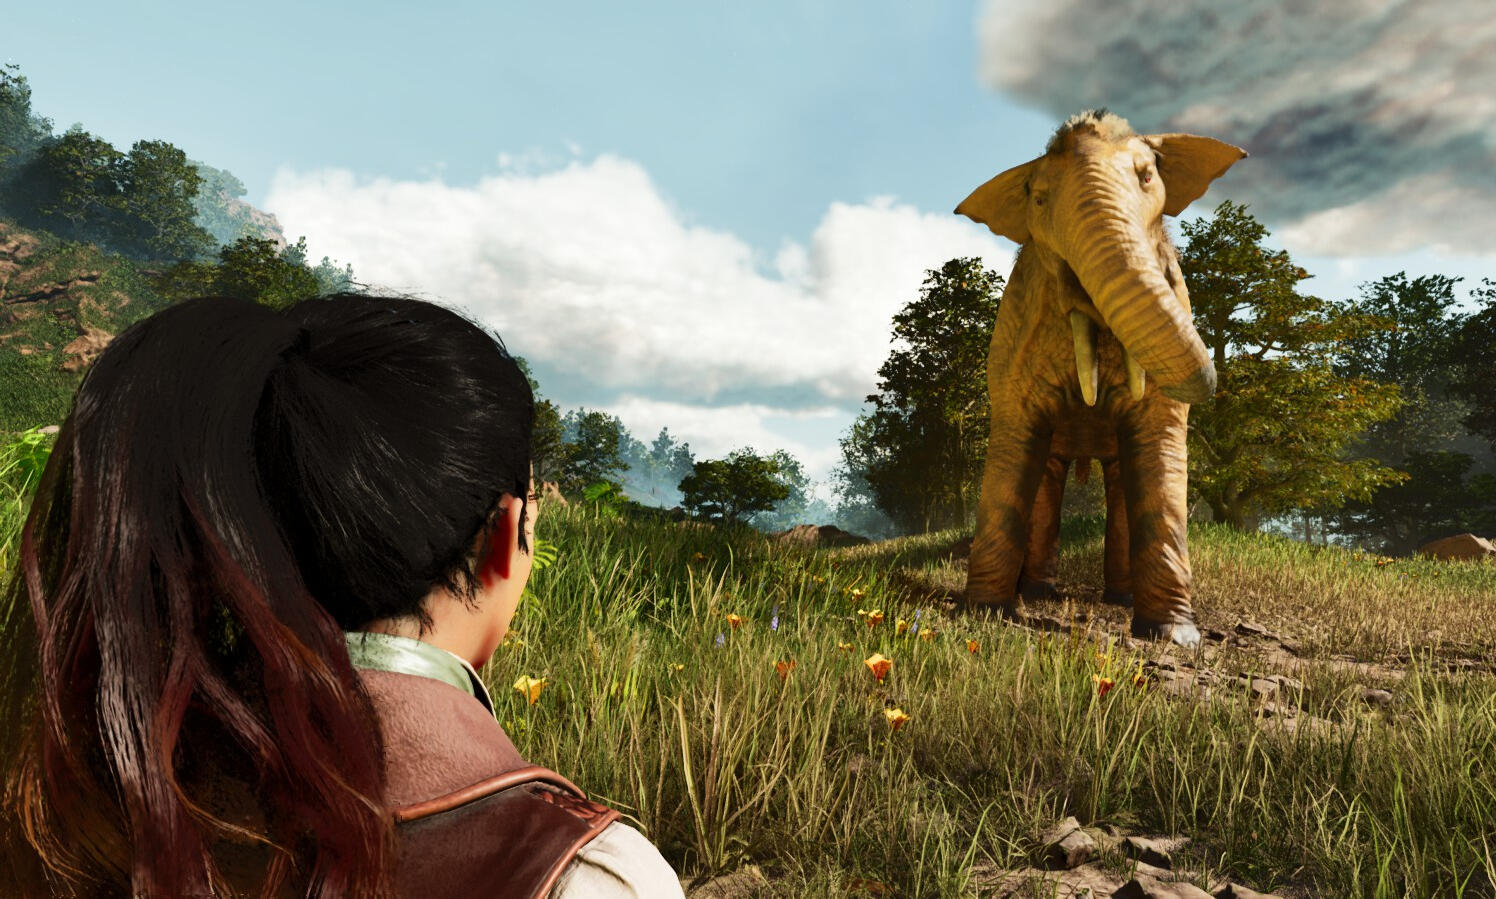
3. Slowly approach
- Stop when the Deinotheirum turns to face you
- If you get too close, it will bellow and attack you
- This is the start of the taming minigame: watch the Deinotherium's body language

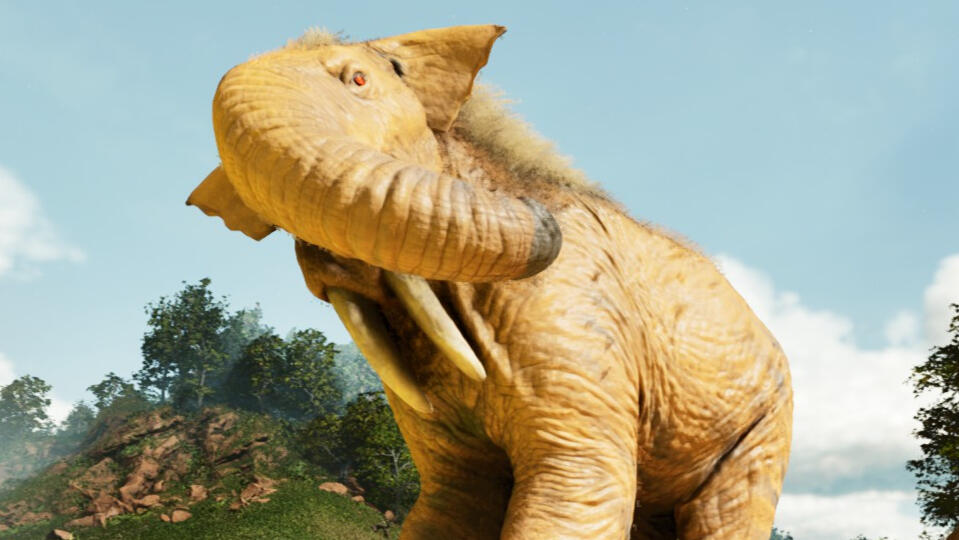
4. When you have good signs, run under the Deinotherium
- If you have enough positive signs, the Deinotherium will take a beer jar from you automatically
- If you've misread, the Deinotherium will bellow and try to stun stomp on you and attack

5. Repeat steps 3 and 4 until tamed
- back off between attempts lest you aggro the Deinotherium before it's ready for another attempt
- be sure to watch those cues
Congrats on your new Deinotherium!

Engrams & Requirements
- Saddle unlocks at Level
- Saddle Engram Cost:
- Saddle Crafted in: Smithy
Saddle Resource Costs
-
-
-
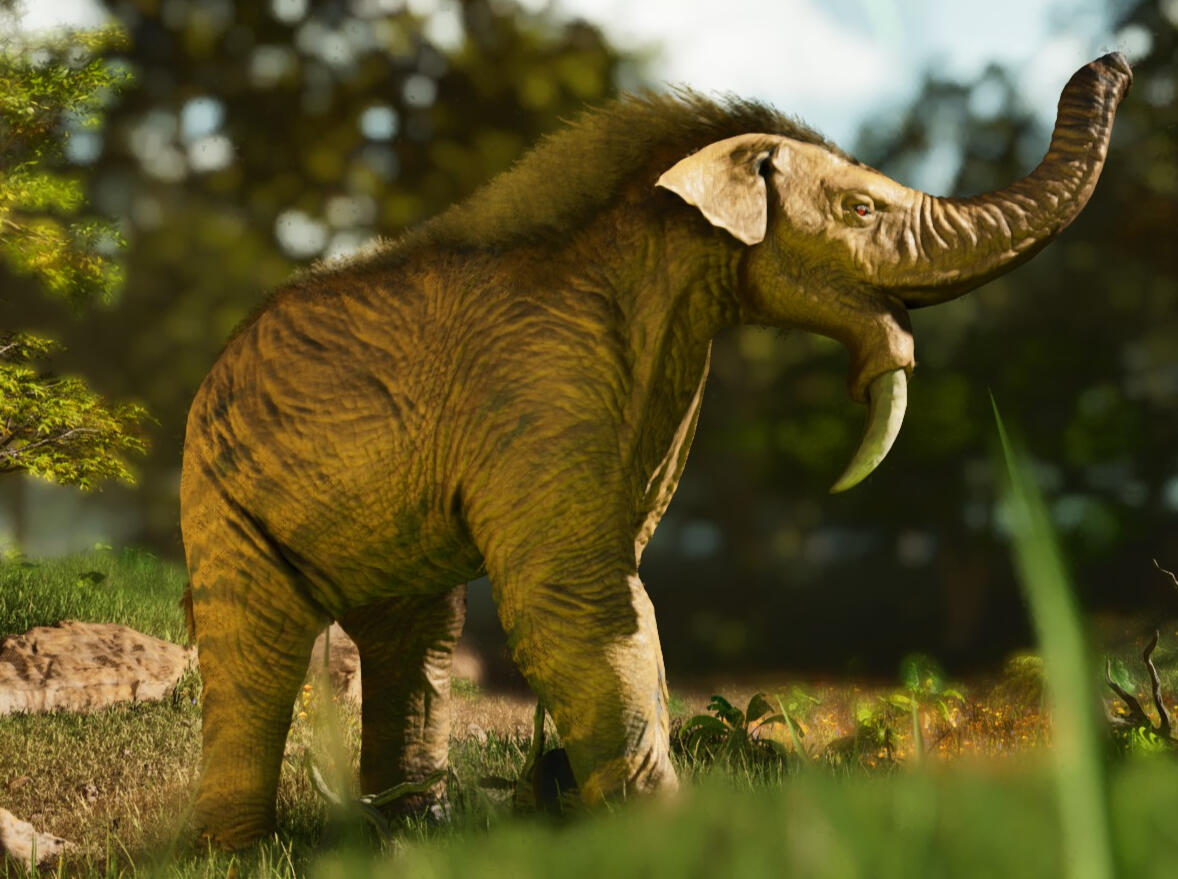
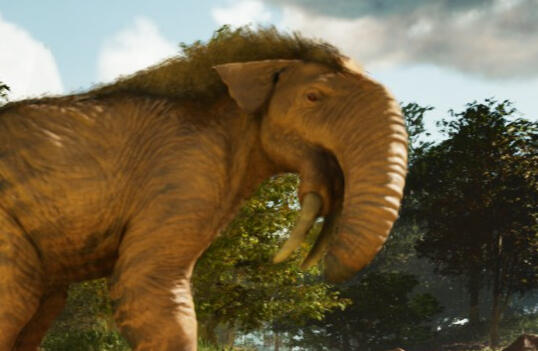
Deinotherium Body Language
- Deinotherium have two tells, their ears and their trunks
- Each animation has a percentage progress for the Deinotherium to allow you to safely approach
- Staying confrontational too long will aggro them
- Wait a little bit before slowly approaching again
Ears Flared, Trunk Coiled: BEST
- Both soft signs

Ears Flared: GOOD
- If paired with an extended trunk, do not approach unless you like to live dangerously

Trunk Coiled: GOOD
- If paired with pinned ears, do not approach unless you like to liver dangerously
Ears Pinned, Trunk Extended: WORST
- If paired with pinned ears, do not approach unless you like to live dangerously

Ears Pinned: BAD
- If paired with a coiled trunk, do not approach unless you like to live dangerously

Trunk Extended: BAD
- If paired with flared ears, do not approach unless you like to live dangerously
Abilities & Utility
1. Placeholder
- Placeholder
Creature
Spawn Locations

The Island

- Spawns are Rough Estimates and may differ in game
Taming Process
1. Locate a Deinosuchus
- They are very aggressive
- Recommended to clear out the area before taming

Preferred Foods
Kibble
Engrams & Requirements
- Saddle unlocks at Level 60
- Saddle Engram Cost: 40 pts
- Saddle Crafted in: Smithy
Saddle Resource Costs
- 270 Fiber
- 20 Metal Ingots
- 130 Hide
Abilities & Utility
1. Placeholder
- Placeholder
Variants
Acrocanthosaurus
- Spawns on the Island
- Spawns on The Center

Creature
Spawn Locations
The Island
- Spawns are Rough Estimates and may differ in game
Taming Process
1. Locate a Deinosuchus
- They are very aggressive
- Recommended to clear out the area before taming

Preferred Foods
Kibble
Engrams & Requirements
- Saddle unlocks at Level 60
- Saddle Engram Cost: 40 pts
- Saddle Crafted in: Smithy
Saddle Resource Costs
- 270 Fiber
- 20 Metal Ingots
- 130 Hide
Abilities & Utility
1. Placeholder
- Placeholder

Variants
Acrocanthosaurus
- Spawns on the Island
- Spawns on The Center